

 4.9
4.9 4.5
4.5Recruiters using LinkedIn’s AI search tools save roughly 20% of their workweek on candidate sourcing, which means your profile gets about six seconds of human attention after the algorithm surfaces it. This guide walks you through building a profile that survives that filter, setting up targeted job searches, and staying visible in about 90 minutes of total setup time.
TL;DR: Optimize your profile to All-Star status (40x more search appearances), configure saved searches with smart filters, and post 1-2 times per week. The combination of a recruiter-ready profile and consistent engagement is what actually drives inbound messages during a LinkedIn career search.
Before You Start
You’ll need a LinkedIn account (free works fine for everything here, though Premium adds InMail credits and applicant insights), a current resume to pull achievement data from, and a professional headshot. Profiles with professional photos receive 21x more profile views and 36x more messages, according to LinkedIn’s platform data. Don’t skip the photo.
Time commitment: About 60-90 minutes for initial setup across Steps 1-6, then 15-20 minutes of daily engagement for Step 7.
Skill level: Basic LinkedIn navigation is all you need. If you’ve never used the platform before, you may want to review our strategy guide for job seekers on LinkedIn first to get oriented.
Step 1: Activate “Open to Work” and Hit All-Star Completion
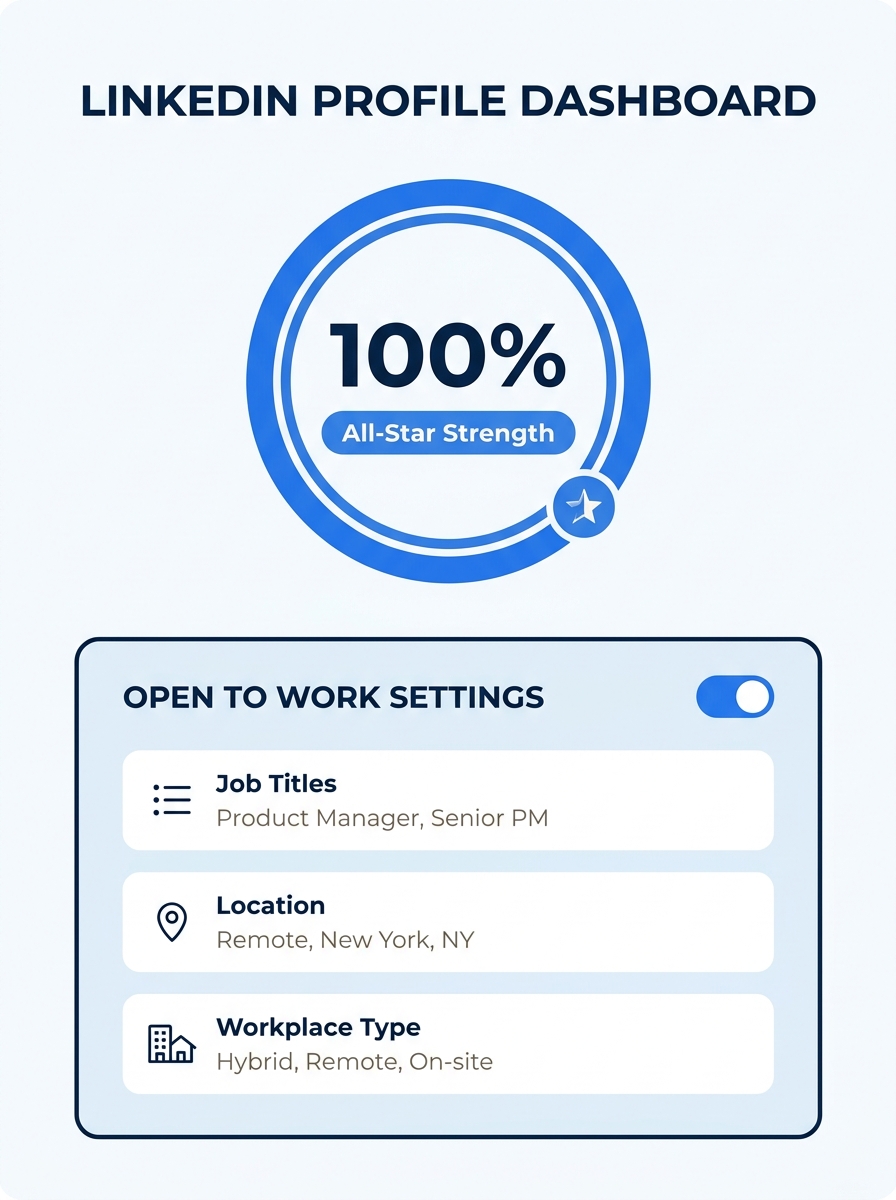
The goal is to signal recruiter availability and reach LinkedIn’s “All-Star” profile status, which makes your profile appear in 40x more recruiter searches compared to incomplete profiles.
What to do: Click the “Open to” button on your profile dashboard and select “Finding a new job.” Fill in up to 5 job titles you’re targeting, your location preferences, workplace type (remote, hybrid, on-site), start date, and job type (full-time, contract, etc.). Then choose whether to broadcast this to all LinkedIn members or limit visibility to recruiters only.
Next, check your profile strength meter. All-Star status requires a profile photo, a customized headline, a current position, two past positions, education, at least 5 skills, your industry, your zip code, and 50+ connections. Missing any one of these drops you below the threshold.
You’ll know it worked when: Your profile dashboard displays “All-Star” as your profile strength. If you toggled “Open to Work” for recruiters only, you’ll see a private note on your dashboard without the green photo banner visible to your network.
Step 2: Rewrite Your Headline Using All 220 Characters
LinkedIn gives you 220 characters in your headline, and the platform’s search algorithm weights this field at approximately 5x the importance of any other profile section. Most people waste it with their current job title and employer alone. You should use every available character.
What to do: Structure your headline using this formula: Current Role | Core Skill 1 & 2 | Value Proposition | Search Signal. For example: “Senior Data Engineer | Python, Spark, dbt | Building pipelines that cut processing time 40% | Open to remote opportunities.”
The 2026 algorithm prioritizes semantic relevance over raw keyword repetition, so “Marketing Manager | B2B SaaS | Demand Gen & Content Strategy | Drove $2.3M pipeline” outperforms “Marketing Manager | Marketing | Digital Marketing | Marketing Strategy” even though the second version mentions “marketing” four times.
You’ll know it worked when: Search for your target job title on LinkedIn in an incognito window. If your profile appears within the first 3 pages of People results, your headline keywords are indexed correctly. You should also see your complete headline displayed beneath your name on profile cards across the platform.
Step 3: Turn Your About Section into a Recruiter Magnet
Joseph Liu, writing for Forbes, compiled feedback from 100 hiring professionals who consistently ranked the About section as one of the top three profile areas they read before deciding to reach out. Your About section needs to deliver three things: an opening hook in the first two lines (the only part visible before the “see more” fold), 3-4 sentences of career context with specific achievements, and a closing line stating your target role and contact preference.
What to do: Write 1,500-2,000 characters (the maximum is 2,600, but most recruiters won’t read past 2,000). Lead with a concrete result: “I’ve led data migrations for three Fortune 500 retailers, reducing warehouse query latency by 60% and saving $1.2M in annual infrastructure costs.” Then give context about your career trajectory, your core competencies, and what you’re pursuing next.
Weave target keywords naturally into the narrative. If you’re searching for “product manager” roles, mention that exact phrase 2-3 times across the section in sentences that read naturally. Keyword stuffing tanks readability and doesn’t help the algorithm in 2026’s semantic search model.
You’ll know it worked when: The first line of your About section, visible before the fold, contains your strongest quantified achievement or clearest value statement. Read it aloud. If it sounds like a resume summary pasted verbatim, rewrite it in first person with a conversational tone.
Step 4: Add Quantified Proof to Every Experience Entry
As one contributor in Reddit’s r/jobsearchhacks community explained: “Showing proof in the Experience bullets, numbers, tools, outcomes, makes recruiters trust the profile fast.” This tracks with how LinkedIn’s recruiter AI now processes profiles using natural language queries, meaning a recruiter types something like “find me a product manager who has scaled a SaaS product past $10M ARR” and the algorithm matches against your profile text directly.
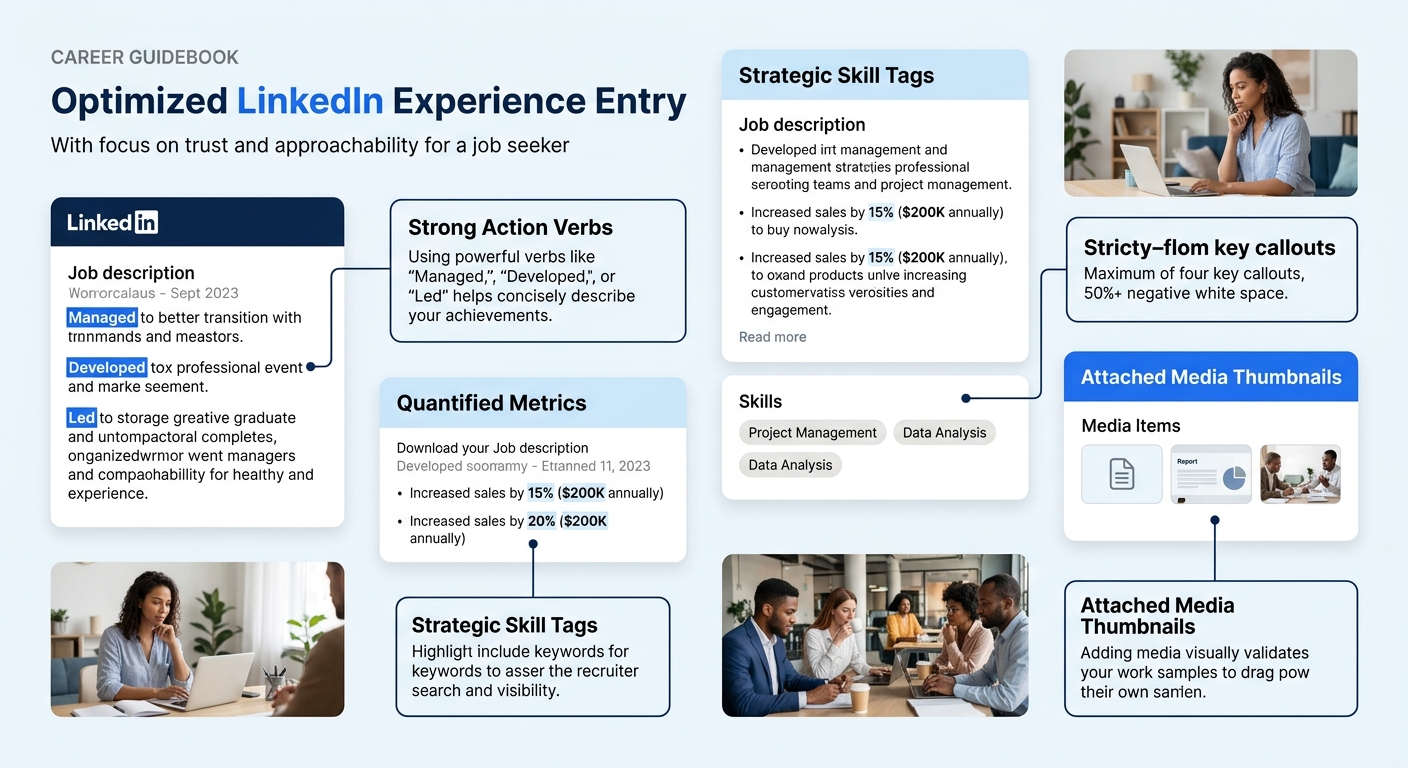
What to do: For each role, write 3-5 bullet points using this structure: Action + Scope + Result. Example: “Redesigned the onboarding email sequence for 140K users, increasing activation rates from 23% to 41% in 90 days.”
Add relevant media (slide decks, articles, project links) to each entry. LinkedIn displays these as thumbnails beneath the role, and they increase time-on-profile. Also tag up to 5 skills per position, these tagged skills carry more algorithmic weight than skills listed in your standalone Skills section alone.
You’ll know it worked when: Every experience entry contains at least one quantified result. Count the numbers in each role’s description. If any entry has zero percentages, dollar figures, team sizes, or timelines, that entry needs revision.
Step 5: Configure Saved Searches and Job Alerts
According to Refactor Talent’s analysis of LinkedIn search filters, “Saved searches are one of LinkedIn’s most underrated features. This turns LinkedIn into a passive assistant working in the background.”
What to do: Go to LinkedIn Jobs and run a search for your target title and location. Apply filters: Date Posted (set to Past Week to keep results fresh), Experience Level, Company, Remote/On-site, and Salary range where available. Once filtered, click “Set alert” and choose daily or weekly frequency.
Create 3-5 different saved searches with variations: one for your exact target title, one for an adjacent title (e.g., “Content Strategist” alongside “Content Marketing Manager”), and one broader industry search. Each alert runs independently and sends you new matches via email and LinkedIn notifications.
LinkedIn also lets you search for job-related posts shared directly by hiring managers. Change the search criteria by clicking the Jobs dropdown at the top of the page, selecting Posts, then choosing the “Job posts” content type filter. These listings often don’t appear in the main Jobs tab at all.
You’ll know it worked when: Within 24 hours, you receive your first email alert with matching positions. If nothing comes through, your filters are too restrictive. Broaden the location radius or remove one filter at a time until you see results.
Step 6: Filter and Sort to Surface the Right Roles
Raw LinkedIn job search results default to “Most relevant,” which blends recency, your profile match score, and sponsored listings. You can take much more control over what you see.
What to do: On the search results page, use the filter bar to narrow by Date Posted (Past 24 Hours for the freshest listings), “In Your Network” (to find roles where you have a connection at the company), “Easy Apply” (for one-click applications that pull from your LinkedIn profile), and “Under 10 Applicants” (to target roles with minimal competition).
Switch from “Most Relevant” to “Most Recent” sorting if you want a chronological view of every new posting. This matters in competitive fields where applying within the first 48 hours significantly increases your response rate, LinkedIn’s own data indicates early applicants are roughly 4x more likely to hear back.
For each listing you’re seriously considering, check whether you have 1st or 2nd degree connections at the company. LinkedIn’s career content team advises positioning yourself as a peer, sharing insights and engaging with leaders at target companies, because a warm introduction from someone in your network opens doors faster than a cold application.
You’ll know it worked when: Your filtered search returns 10-30 relevant postings per query, not 500+ unrelated results. If you’re still seeing noise, add an Experience Level or Industry filter to tighten the results.
Step 7: Post, Comment, and Stay Visible
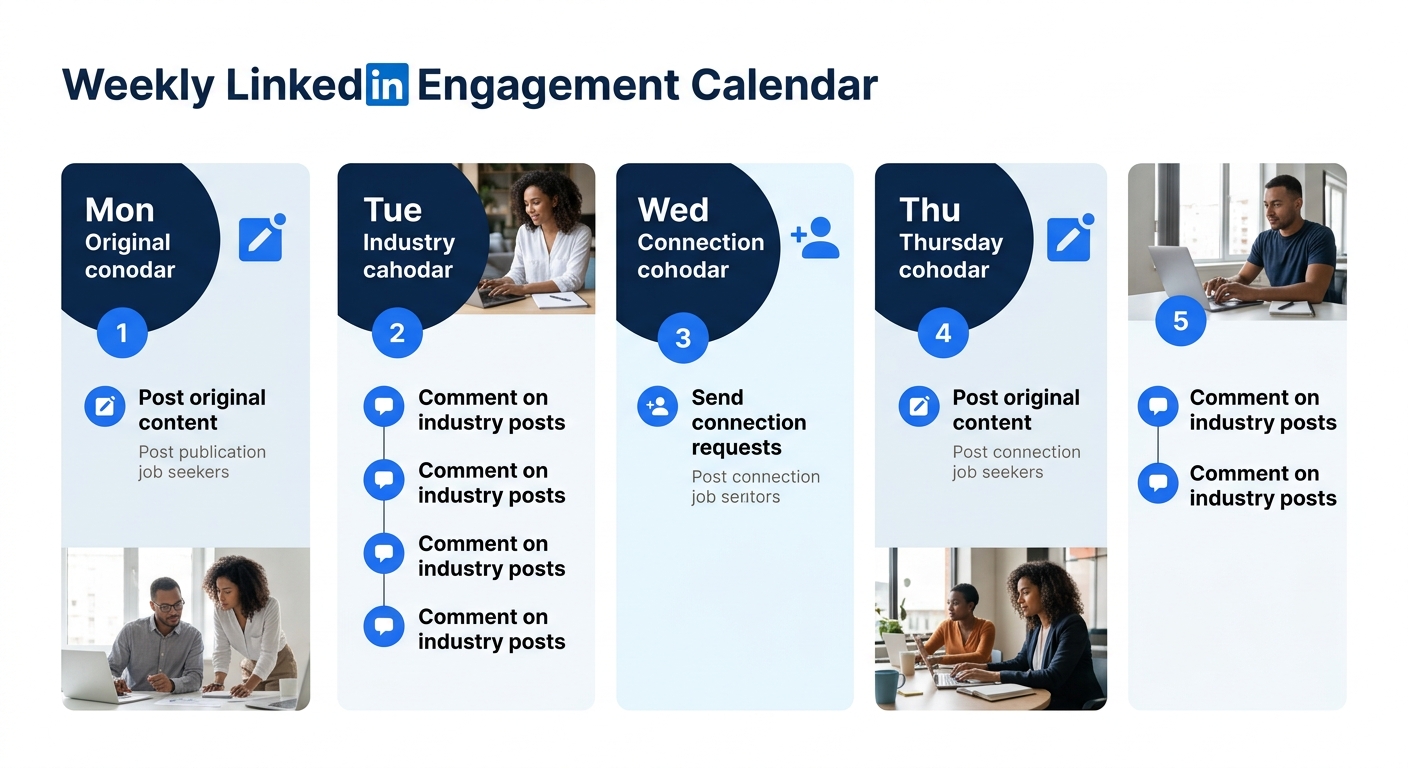
LinkedIn’s 2026 algorithm treats engagement as a primary ranking factor for profile visibility. Posting 1-2 times per week and commenting on 3-5 relevant posts daily boosts your profile’s appearance in both recruiter searches and your network’s feeds. The platform rewards users who generate discussion, so a substantive 3-sentence comment often does more for your visibility than a polished 500-word post that gets zero replies.
What to do: Share an insight from your field once or twice weekly, a lesson learned, a trend you’ve noticed, a genuine question for your network. Keep posts between 150-300 words. Avoid generic “I’m excited to announce” framing unless you actually have news to share.
Comment on posts from leaders at your target companies. Skip “Great post!” and instead add a data point, share a related experience, or ask a specific follow-up question. This kind of engagement puts your profile (and your optimized headline) directly in front of decision-makers and their networks.
You’ll know it worked when: After 2 weeks of consistent activity, your profile analytics show an upward trend in profile views and search appearances. If views are flat, try increasing your comment frequency or shifting to topics generating more discussion in your industry.
Tip: LinkedIn Learning certifications and skill assessments display verified badges on your profile. These badges can increase recruiter messages by up to 30%, and they sit prominently in your Skills section where recruiters check first.
Common Problems and How to Fix Them
Problem 1: “Open to Work” is activated but no recruiters reach out. Your profile almost certainly hasn’t reached All-Star status, or your headline lacks the keywords recruiters actually search for. Run a test: search for your target job title in LinkedIn’s People search. If you don’t appear in the first 3 pages, add more skills (aim for 20+), and make sure both your headline and About section contain the exact phrases a recruiter would type.
Problem 2: Job alerts return irrelevant listings. Your saved searches are too broad. Add Experience Level and Company Size filters. Double-check that your location settings reflect your actual flexibility, selecting “United States” when you want roles in a specific metro area floods your inbox with noise.
Problem 3: Applications disappear with no response. This is the most common frustration during any LinkedIn career search, and it usually means your resume needs work alongside your profile. If you’re submitting through Easy Apply, your LinkedIn profile IS your application in many cases. Make sure experience entries mirror the language used in the job descriptions you’re targeting. And if you’ve been applying for weeks without callbacks, working with professional career coaches who can audit your profile, resume, and application strategy together is worth the investment. You can also review frameworks for evaluating resume writing services if your resume is the bottleneck.
Skills-based hiring is accelerating, 26% of paid LinkedIn job posts in 2024 dropped degree requirements, which means your demonstrated skills and quantified achievements now carry more weight than your educational credentials.
Where to Go From Here
Your profile and search setup are the foundation. The ongoing work, posting, commenting, refining your saved searches every few weeks, separates candidates who get found from those who blend into the background. With 26% of job postings already dropping degree requirements and recruiters relying on AI to parse profiles for specific skills, keeping your profile current with fresh achievements and verified endorsements matters more than any individual application.
If your resume hasn’t been updated to match the positioning in your new LinkedIn profile, that’s the natural next step. The messaging should be consistent across both documents. And if you’re thinking about how lifelong learning and digital fluency fit into your broader career trajectory, that context shapes which skills you emphasize and which saved searches you create.
A LinkedIn career search isn’t something you set up once and forget. It’s a system that compounds over time. Each post builds your visibility, each connection expands your network’s reach, and each refined search brings better-matched opportunities into your inbox. The 90 minutes you spend today will keep working for you every day you stay active on the platform.