
 4.9
4.9 4.5
4.5Sixty-six percent of job seekers now prefer cover letters that run half a page or shorter. Getting that kind of brevity right, with formatting that passes ATS scans and reads cleanly on screen, takes about 15 minutes with the step-by-step process below.
TL;DR: Format a cover letter with 1-inch margins, a 10–12 point professional font (Arial, Calibri, or Times New Roman), six left-aligned single-spaced sections, and save as PDF. Match the font to your resume. Each step below includes a verification check so you can confirm it worked before moving on.
Before You Start
You need three things before Step 1:
- A job posting you’re targeting. You’ll pull the company name, hiring manager’s name (if available), and job title directly into the letter. A generic version you “customize later” produces a worse result every time.
- Your resume, finalized. Your cover letter font, header style, and contact info block should match your resume exactly. If you haven’t settled on a resume format yet, do that first.
- A word processor that can set margins and export to PDF. Google Docs, Microsoft Word, and LibreOffice Writer all work. Canva and similar design tools produce cover letters that look sharp but often fail ATS parsing. Avoid them unless you’re certain the company doesn’t use an ATS.
Time required: 15–20 minutes for formatting. Content writing is separate and will take longer depending on how much you research the company.
Step 1: Set Your Document Defaults
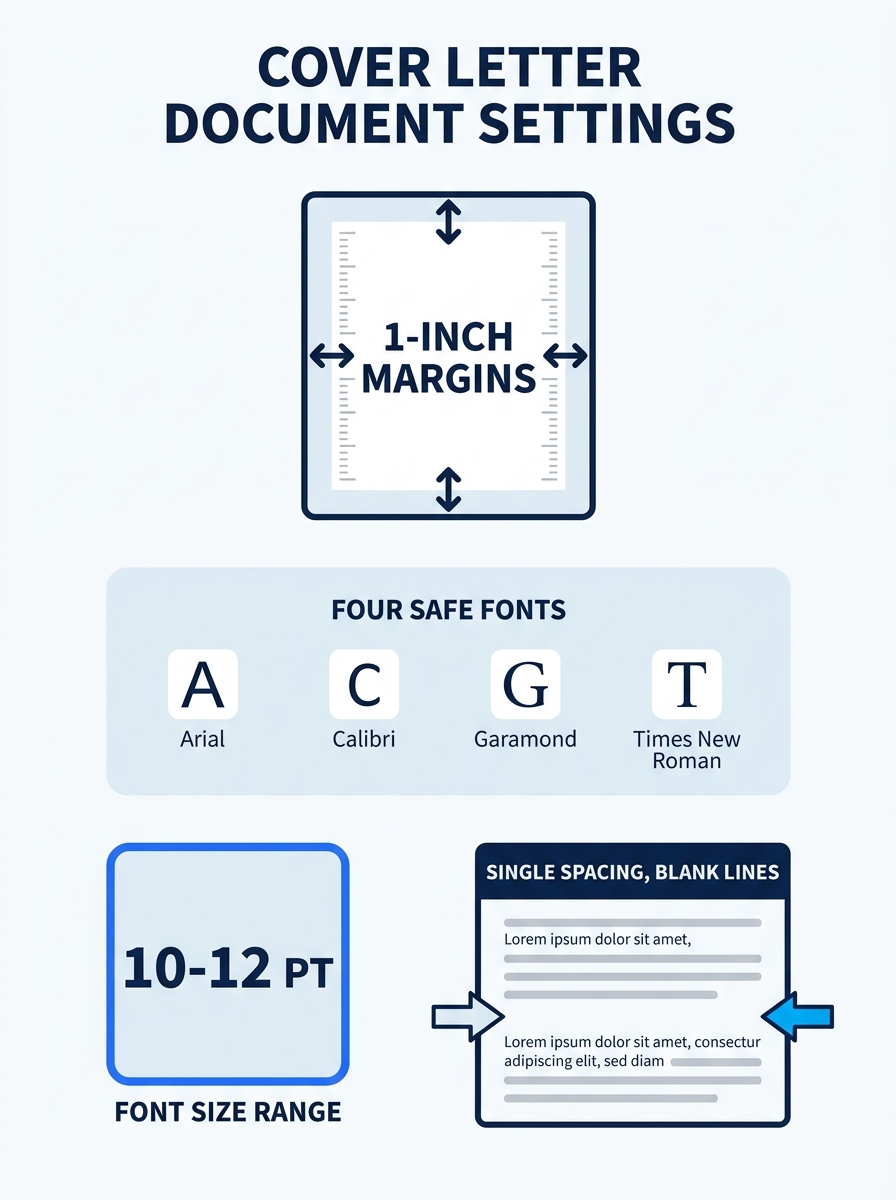
The goal here is to establish the four base settings every properly formatted cover letter shares: margins, font, font size, and line spacing.
Open a blank document and configure these:
- Margins: 1 inch on all four sides. The University of Michigan’s career center allows margins as narrow as 0.5 inches, but 1-inch margins are the safest default and the one MIT’s career advising office recommends. Going below 0.75 inches makes the page feel cramped.
- Font: Arial, Calibri, Garamond, or Times New Roman. Use the same font family as your resume. ATS software reads all four reliably.
- Font size: 10–12 point. MIT specifies this range explicitly. If your letter runs long, drop to 10.5 before you start cutting content. A well-formatted letter at 11 point usually fits on one page without trouble.
- Line spacing: Single-spaced within paragraphs, with one blank line between paragraphs. The Purdue OWL business letter guide confirms this as the standard block format.
You’ll know it worked when: your document shows 1″ margins in the ruler, your font is set to a professional typeface at 10–12 pt, and your line spacing is set to single (1.0).
Step 2: Build Your Header
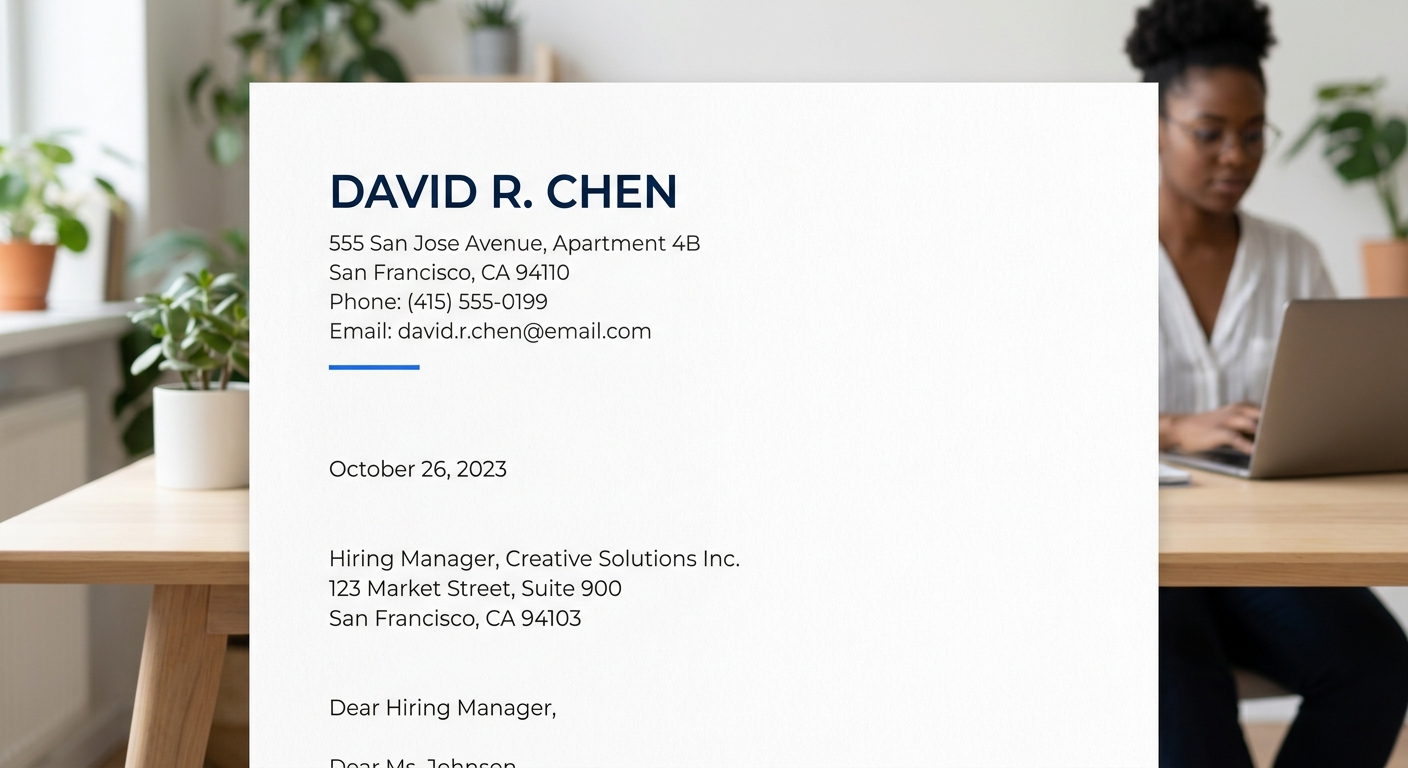
The header block sits at the top of the page and contains your contact information. It should match your resume header in both content and visual style. Same name format, same phone number, same email.
Include these elements, each on its own line, left-aligned:
- Your full name (can be slightly larger, 14–16 pt, or bold)
- City and state (full street address is optional and increasingly omitted)
- Phone number
- Email address
- LinkedIn URL (optional but recommended, especially if you’ve optimized your profile for recruiter search)
Skip text boxes, tables, or multi-column layouts for your header. ATS software strips these out before a human ever sees your letter. A simple stacked layout, left-aligned, works every time.
You’ll know it worked when: your header is flush left, contains 4–5 lines of contact info, and uses no text boxes or columns.
Step 3: Add the Date and Employer Address
Below your header, skip one blank line and add the date in month-day-year format (e.g., September 23, 2026). The Xerox business letter template guide recommends this format for U.S.-based correspondence, and it’s the standard most hiring managers expect.
Below the date, skip another blank line and add the employer’s information:
- Hiring manager’s name (and title, if you know it)
- Company name
- Company address (city and state are sufficient)
If you can’t find the hiring manager’s name, use the department head’s name or the team lead’s. Check the company’s LinkedIn page, the “About Us” section of their website, or the job posting itself. The extra 5 minutes of research pays off, since 47% of employers say they’d reject a candidate who demonstrates no knowledge of the company.
You’ll know it worked when: your date sits on its own line below the header, and the employer address block sits below the date with a blank line separating each element.
Step 4: Write the Salutation
Skip one blank line after the employer address and write your greeting. “Dear [First Name] [Last Name],” is the standard format. Use a comma after the name. A colon works too but reads more formal than most industries expect.
If you genuinely cannot find a name after checking LinkedIn, the company website, and the posting, use “Dear Hiring Manager,” or “Dear [Department Name] Team,”. Avoid “To Whom It May Concern.” It signals you didn’t try.
You’ll know it worked when: your greeting addresses a specific person by name, followed by a comma, on its own line.
Step 5: Write the Opening Paragraph
This is where formatting and content intersect. Your opening paragraph should be 2–4 sentences long. State the exact job title you’re applying for, where you found the listing, and one sentence connecting your background to the role.
Microsoft’s 2026 cover letter formatting guide describes this section as the “hook,” the paragraph that determines whether a hiring manager keeps reading. Left-justify it. Don’t indent the first line. Block format means no indentation for any paragraph in the letter.
If you’re concerned about generic phrasing killing your chances, our guide on phrases hiring managers filter out covers the nine most common mistakes and how to rewrite them.
You’ll know it worked when: your opening paragraph is 2–4 sentences, mentions the job title explicitly, and has no first-line indent.
Step 6: Write the Body (1–2 Paragraphs)
The body does the heaviest lifting in your letter. Resume Genius’s formatting guide advises that the body should take information about your current or most recent role and connect it directly to your target position, highlighting specific achievements that demonstrate impact.
You have two formatting options here:
- Two short paragraphs (3–4 sentences each): one about a relevant achievement, one connecting your skills to the company’s stated needs.
- One paragraph plus 2–3 bullet points: use bullets to highlight measurable results (revenue generated, efficiency improved, projects completed). This is the problem-solution format that works well when you can identify a specific challenge the company faces and show you’ve solved something similar before.
Tip: If you use bullet points, keep each one to a single line. Indent bullets with a standard tab (0.5 inches). Bulleted achievements should include numbers. “Increased customer retention by 18% over two quarters” reads stronger than “Improved customer retention significantly.”
Each body paragraph stays left-aligned, single-spaced, with a blank line separating it from the next paragraph or bullet list.
You’ll know it worked when: your body section is 1–2 paragraphs (with or without bullets), includes at least one measurable achievement, and fits within the single-page constraint.
A half-page cover letter with two strong, quantified achievements outperforms a full page padded with four mediocre ones.
Step 7: Write the Closing and Sign-Off
Your closing paragraph is 1–2 sentences. Thank the reader, express interest in discussing the role, and include a specific call to action. Something like “I’d welcome the chance to discuss how my experience in supply chain management aligns with your Q1 expansion plans” gives the reader a concrete reason to respond.
Below the closing paragraph, skip one blank line and add your sign-off:
- “Best regards,” or “Sincerely,” followed by a comma
- Skip one blank line (this is where a handwritten signature would go on a printed letter; for digital submissions, one blank line is fine)
- Your full typed name
George Mason University’s writing center describes the standard for business letters as “brief, straightforward, and polite” and limited to one single-spaced page. If your letter runs over one page at this point, cut body content before you adjust formatting. Reducing font size below 10 pt or margins below 0.75 inches creates a visually cramped document that works against you.
You’ll know it worked when: your closing has 1–2 sentences plus a sign-off, and the entire letter fits on one page.
Step 8: Proofread, Match, and Export
Three final actions before you send:
- Proofread out loud. Indeed’s formatting guide recommends reading the letter aloud, running spellcheck, and having a second person review for typos and clarity. Reading silently lets your brain autocorrect errors your eyes skip right over.
- Match your resume. Open your resume side by side with the cover letter. Confirm the fonts match, the header contact info is identical, and the overall visual style feels like one cohesive application package. If you’re looking for layout inspiration, our cover letter template collection has options already paired with common resume formats.
- Save as PDF. Unless the job posting explicitly requests a .docx file, save as PDF. PDFs preserve your formatting across every device and operating system. Name the file with your name and the document type: FirstName-LastName-Cover-Letter.pdf.
You’ll know it worked when: your letter is typo-free, visually matches your resume, and exists as a correctly named PDF file ready to upload or attach.
When Things Go Wrong
Three issues come up more often than anything else:
Your letter runs longer than one page. The fix is always to cut content, not to shrink formatting. Remove the weakest achievement from your body section. Tighten sentences. Drop adverbs. Most hiring managers prefer shorter letters anyway, and a concise letter signals you can communicate efficiently.
The ATS scrambles your layout. This happens when you use text boxes, tables, headers/footers, or decorative fonts. Rebuild the letter in a blank document using only standard paragraphs and one of the four safe fonts from Step 1. Copy-paste your text into the company’s application portal and check the preview before submitting. Many ATS platforms show you what the parsed version looks like, and it’s worth the 30 seconds to verify.
Your email submission looks different from your PDF. When you paste a cover letter into an email body, the email client overrides your font and spacing. This is normal. For email submissions, strip out the header block entirely and move your contact details below your typed name at the bottom. Use the email client’s default font. Keep blank lines between paragraphs for readability. Attach the PDF version as well so the formatted record is available.
Warning: If a job posting says “paste your cover letter in the text box below,” do exactly that. Don’t attach a PDF instead and leave the text box empty. ATS systems often index the text box content, not the attachment. Do both when you can.
Where to Go From Here
With your cover letter formatted and exported, the structural work is done. The content side of things, tailoring each letter to a specific company, selecting the right achievements, researching the employer, is where the real time investment goes. Our step-by-step cover letter formatting guide covers additional edge cases like academic cover letters and creative-industry formats where some of these rules bend.
And if you’re applying to roles where LinkedIn presence matters (which, for most white-collar positions, it does), consider pairing your application with a well-optimized LinkedIn profile that reinforces the same narrative your cover letter tells. Recruiters who like your application will check your LinkedIn within minutes, and what they find there should match what they just read on paper.