

 4.9
4.9 4.5
4.5Cover letter format errors get applications rejected before a recruiter reads word one. This guide takes you from a blank document to a finished, ATS-compatible cover letter with 1-inch margins, professional font, single spacing, and 250 to 400 words in seven steps and roughly 30 minutes.
TL;DR: Use block format with 1-inch margins on all four sides, a single professional font at 10–12 points, single spacing with a blank line between paragraphs, and a total length of 250–400 words across three to four paragraphs. Save as PDF before submitting.
Before You Start
You need four things ready before step one: a job posting you’re targeting, a completed resume (the cover letter header should match it), a word processor (Google Docs, Word, or LibreOffice all work), and about 30 minutes of uninterrupted time.
Your cover letter and format choices should reflect the specific job you’re applying to. A generic letter sent to 40 companies will read that way. Pull three to four requirements from the job posting and keep them visible while you write. They’ll anchor every paragraph you draft.
If you haven’t finalized your resume yet, do that first. The Harvard resume template walkthrough covers layout and ATS compatibility in detail. Your cover letter header should mirror your resume’s header for visual consistency across both documents.
Step 1. Set Up Page Layout
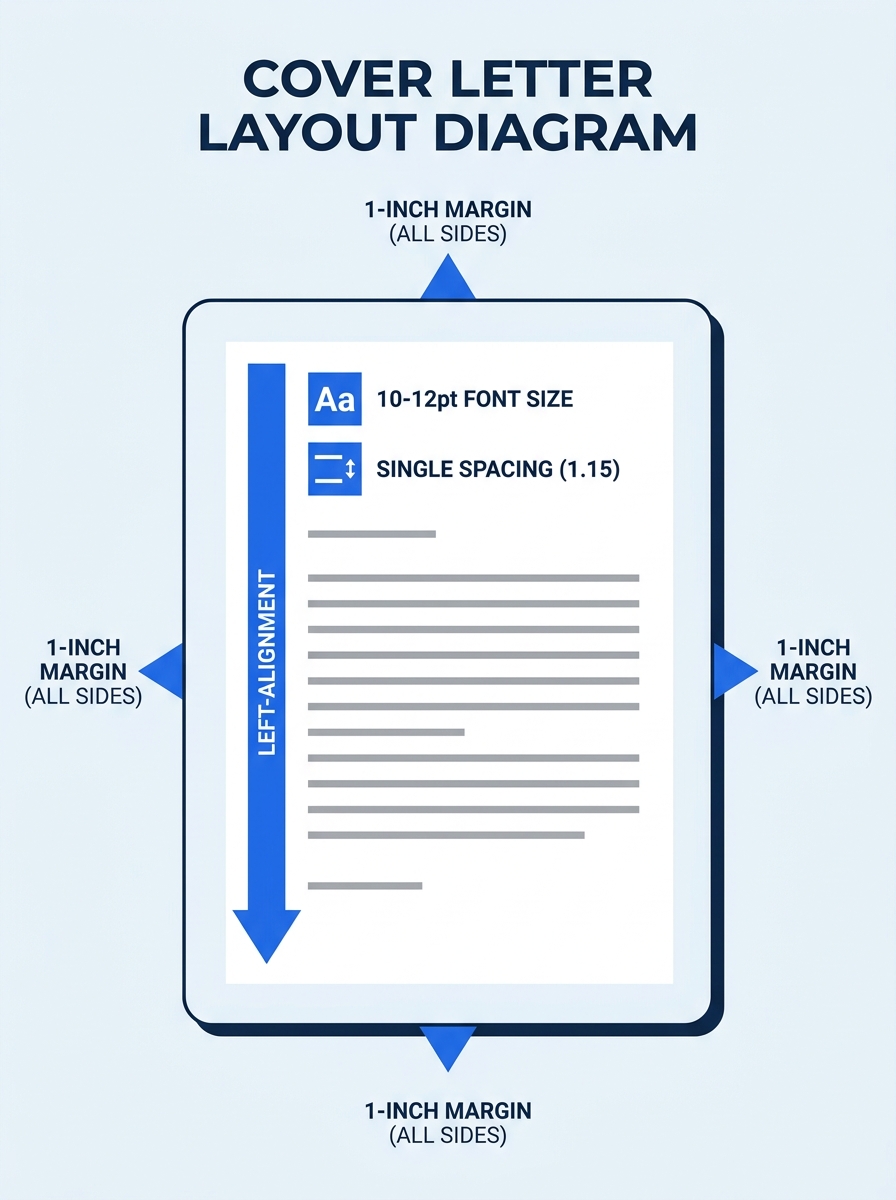
Open a blank document and adjust four settings before you type anything.
Margins: Set all four sides to 1 inch. Grammarly’s cover letter format guide and Indeed’s formatting reference both specify 1-inch margins as the standard. In Google Docs, go to File > Page setup. In Word, use Layout > Margins > Normal.
Font: Pick one font and stick with it throughout the entire document. Arial, Calibri, Garamond, or Times New Roman at 10–12 points all work. Adobe’s formatting guidance states that “you should only use one font throughout the cover letter, and that font should be easy to read.” Decorative fonts cause ATS parsing failures and signal poor judgment to hiring managers.
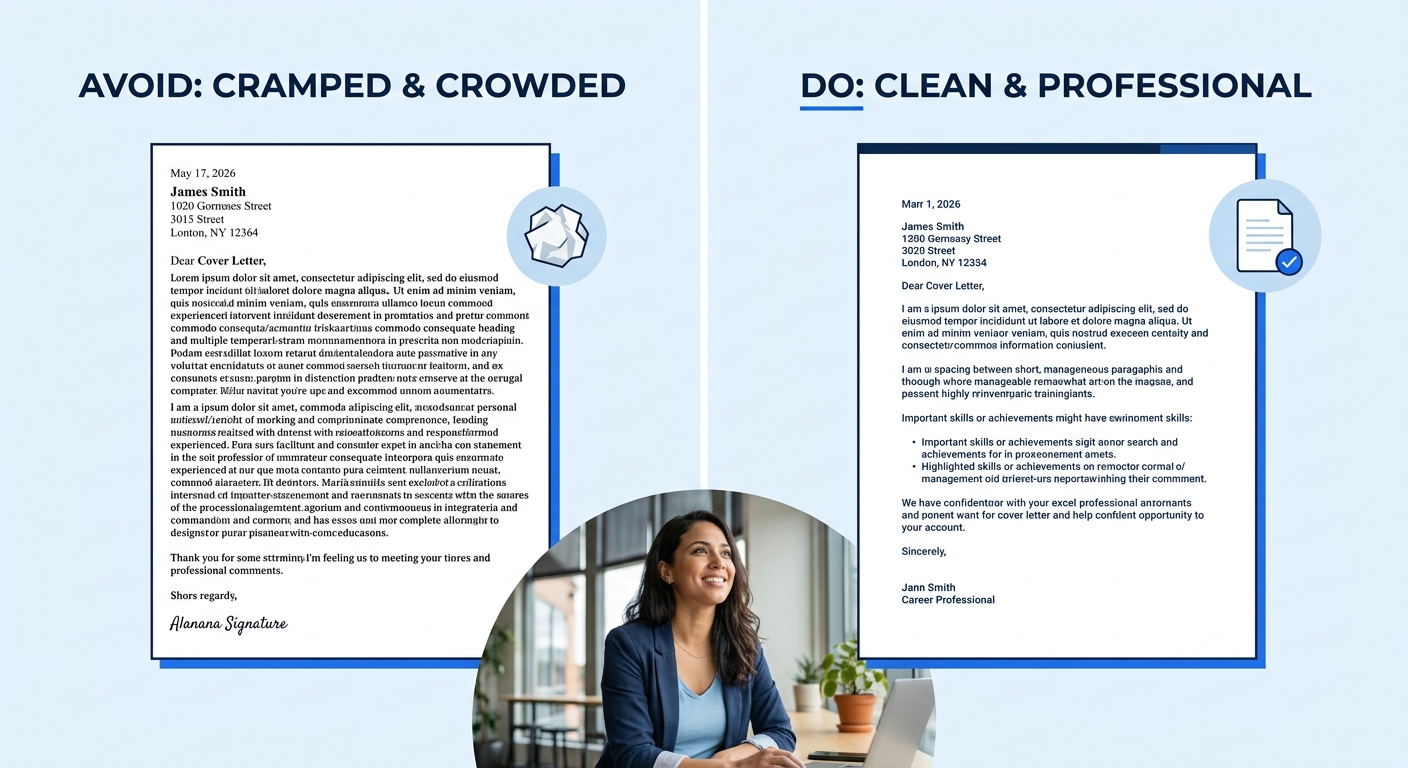
Spacing: Single-space all body text. Add one blank line between paragraphs. Add two blank lines after the header block and before your signature line.
Alignment: Left-align everything. No centered body text, no justified margins. Block format is the standard for business correspondence, and with 98% of Fortune 500 companies routing applications through Applicant Tracking Systems, left-aligned text is what the software expects to parse.
You’ll know this step worked when your document shows a clean, blank page with visible 1-inch margins, your chosen font displayed in the toolbar, and single spacing selected.
Step 2. Write the Header
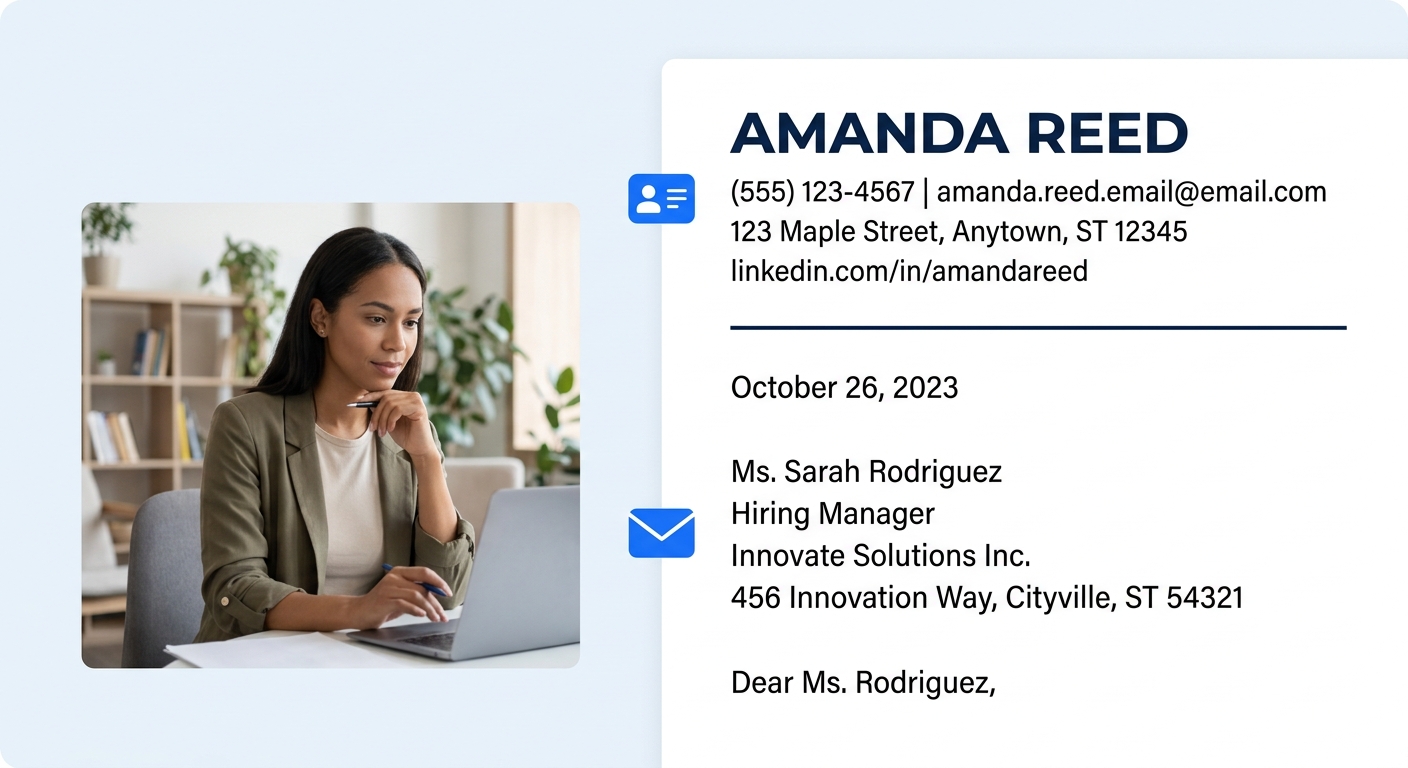
Your header goes at the top of the page and contains your contact information. Stack these elements, each on its own line:
- Full name (can be 2–4 points larger than body text, bolded)
- Phone number
- Professional email address (a variation of your name, not a novelty handle)
- City and state (full street address is no longer expected)
- LinkedIn profile URL (optional but increasingly expected)
If you’re using a cover letter template, the header format will already be set. Otherwise, match the header styling from your resume so both documents look like they belong together.
Below the header, skip two lines and add the date written in full: September 19, 2026. Below the date, add the recipient’s name, title, company name, and company address.
Step 3. Address a Specific Person
Write “Dear [First Name] [Last Name],” followed by a comma. Avoid “Dear Sir/Madam” and “To Whom It May Concern” since both signal zero research effort. LinkedIn company pages and the job posting itself usually name the hiring manager or department head. Forbes career columnist Goldie Chan wrote that a cover letter should “highlight your value and explain how your skills and expertise can help the company reach their goals and fulfil their vision”, and that starts with knowing who you’re writing to.
If you genuinely can’t find a name after checking LinkedIn, the company website, and calling the front desk, “Dear Hiring Manager,” works as a last resort. But “To Whom It May Concern” has no place in a modern application.
You’ll know this step worked when you have a named recipient with the correct title and company spelling verified against the original job posting.
Step 4. Open with a Direct Statement of Purpose
MIT’s Career Advising and Professional Development office advises job seekers to “state clearly in your opening sentence the purpose for your letter and a brief professional introduction.” That single instruction covers the entire opening paragraph.
Your first sentence names the role you’re applying for and where you found it. Your second sentence gives a one-line professional summary: years of experience, relevant domain, or a standout credential. Your third sentence previews the value you’ll prove in the body.
Keep this paragraph between 40 and 60 words. Research aggregated across career platforms shows that 35% of hiring managers read cover letters consistently, and they make a stay-or-leave decision within the first paragraph. If your opener could be copy-pasted onto a different company’s application without changing a word, it’s too generic. Our guide on phrases hiring managers filter out lists nine specific lines to cut immediately.
Step 5. Fill the Body with Evidence
The body is where your cover letter earns its place. You’ll write one to two paragraphs here, each 60–80 words, bringing your total letter to the target range of 250 to 400 words across three to four paragraphs.
Each body paragraph follows a tight structure:
- Claim: Name a skill or experience that matches a requirement from the job posting.
- Evidence: Give a specific result with a number, percentage, dollar figure, or timeframe. “Reduced onboarding time by 40%” is evidence. “Improved onboarding processes” is a claim pretending to be evidence.
- Connection: Tie the result back to what the company needs. One sentence connecting your past to their future.
Research on narrative in professional communication shows stories are 22 times more memorable than isolated facts. But in a 250–400 word cover letter, “story” means a concrete before-and-after, not a full arc. You’re writing a tight case.
Kickresume’s 2026 length guide recommends writing freely in a first draft, then cutting during revision to “improve clarity and structure.” Aim to cut 20–30% from your initial draft. Most cover letters get better when they get shorter.
Tip: Count your words after drafting. If you’re over 400, cut the weakest claim entirely rather than trimming every paragraph equally. One strong example beats two diluted ones.
If your opener could be copy-pasted onto a different company’s application without changing a word, it’s too generic.
Step 6. Close and Sign Off
Your closing paragraph runs 30–50 words and does three things: restates your interest in the specific role, names a concrete next step (an interview, a portfolio review, a call), and thanks the reader for their time.
End with “Sincerely,” or “Best regards,” followed by a blank line and your typed full name. For digital submissions, the typed name is sufficient. If you’re submitting a printed or scanned version, leave three to four blank lines for a handwritten signature.
Step 7. Export as PDF and Run a Final Check
Save the file as a PDF. This preserves your margins, font, and spacing across every device and operating system. Name the file clearly: FirstName-LastName-CoverLetter.pdf. No spaces, no special characters, no version numbers.
Before submitting, verify every item on this checklist:
- Total word count falls between 250 and 400 words
- One font used throughout at 10–12 points
- 1-inch margins on all four sides
- Single spacing with blank lines between paragraphs
- Company name and hiring manager name spelled correctly
- Role title matches the job posting exactly
- No placeholder text remains (brackets, “insert here,” lorem ipsum)
If you’re submitting via email rather than an upload portal, paste the cover letter text into the email body and attach the PDF as well. Use a subject line formatted as: [Your Name] – [Job Title] – Application.
Common Formatting Mistakes and How to Fix Them
Three problems cause most formatting rejections:
Font inconsistency. You pasted text from another document and it carried over a different font or size. Fix: Select all text (Ctrl+A on Windows, Cmd+A on Mac), then apply your chosen font and size to the entire document at once. In Google Docs, use Format > Clear formatting first, then reapply your settings.
Margins that reset after copy-paste. Some templates override your page settings when you paste content into them. Fix: Check File > Page setup after any paste operation and confirm all four margins still read 1 inch. This takes five seconds and prevents a formatting disaster.
Submitting as .docx instead of PDF. A .docx file can render differently depending on the recipient’s software version and operating system. Fonts shift, spacing collapses, and your carefully formatted letter arrives looking broken on their screen. Fix: Always export to PDF as the final step. Google Docs: File > Download > PDF Document. Word: File > Save As > PDF.
Warning: If a job posting specifically requests a .docx file, follow their instructions. But when the posting doesn’t specify a file type, default to PDF every time.
Where to Go From Here
You’ve got the format locked down. The next skill to build is tailoring content, which means writing a different cover letter for each application that references the specific company, role, and requirements. Browse cover letter templates organized by job type to see how format stays constant while content shifts across industries. And if your LinkedIn profile hasn’t been updated to match the professional brand your cover letter presents, career coach Kyle Elliott’s LinkedIn optimization framework walks through that process in detail.
Format is the foundation. A recruiter who sees clean margins, consistent font, and the right length will actually read what you wrote, and that’s where the real work of persuasion happens.