
 4.9
4.9 4.5
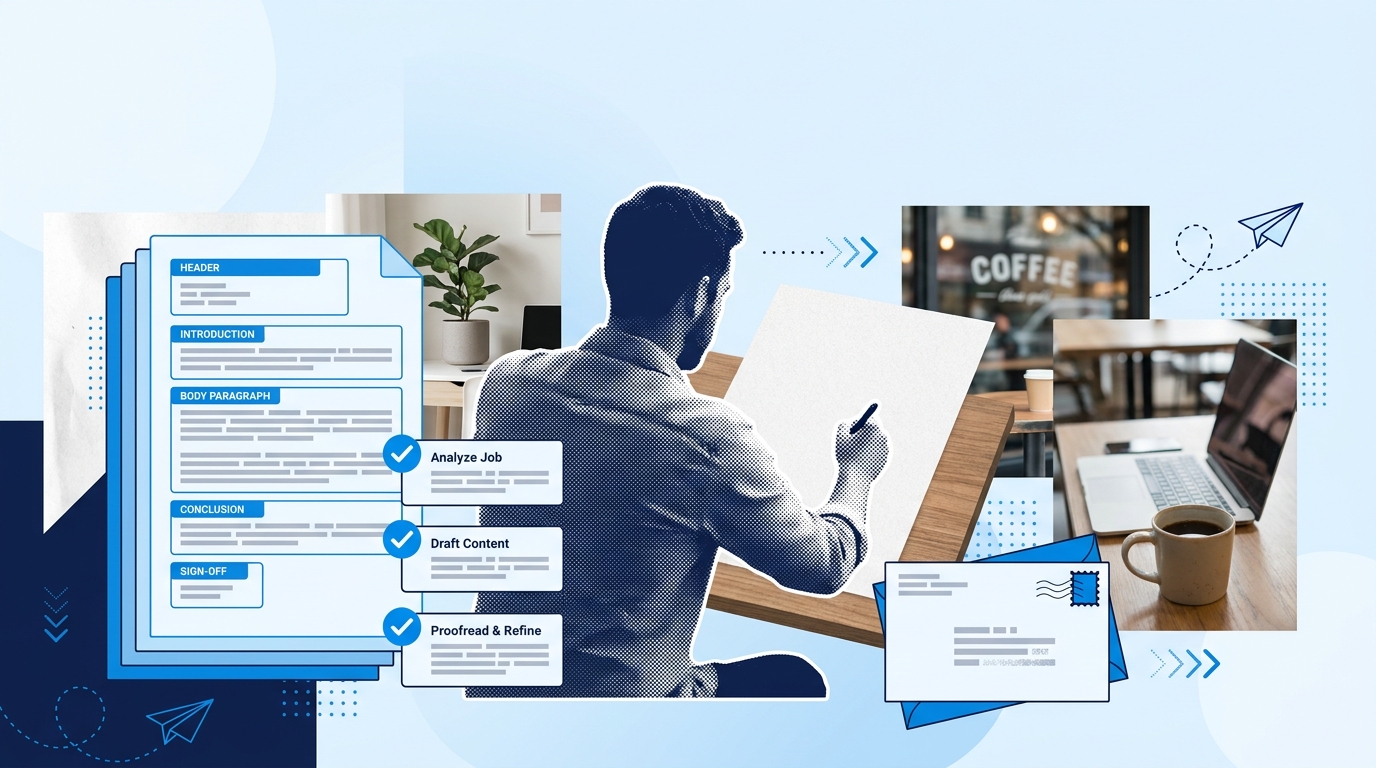
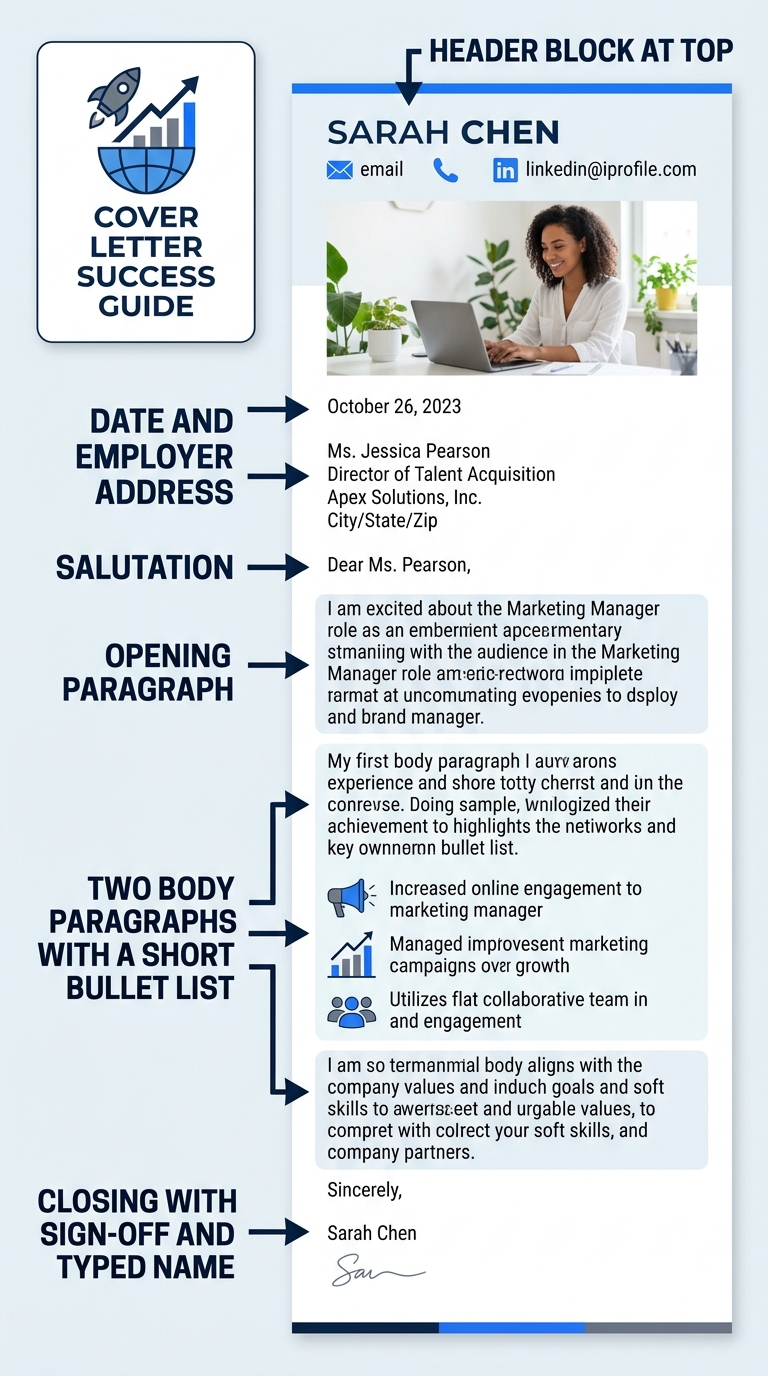
4.5Every cover letter follows the same six-section architecture: header, date and employer address, salutation, opening paragraph, body, and sign-off. Below is a complete cover letter format sample with exact formatting specs for each section, plus the step-by-step process to build a polished, ATS-ready letter from a blank page.
TL;DR: Set 1-inch margins, use a 10–12 pt professional font, structure six sections (header, employer address, salutation, opening, body, closing), keep everything under 400 words on one page, and export as PDF.
Before You Start
You’ll need a word processor (Google Docs, Microsoft Word, or LibreOffice all work), the job posting you’re applying to open in another tab, and about 20 minutes. A finished resume helps too, because you’ll pull specific achievements from it into the body of your letter.
Skill level: beginner. If you’ve ever typed a business letter or formatted a Word document, you have every technical skill required.
One thing to decide before Step 1: will you submit this letter as a PDF attachment or paste it into an email body? Most online application portals accept PDF uploads, and Indeed’s formatting guide recommends PDFs because they preserve your layout across devices. If the posting specifically requests a Word document (.docx), follow that instruction. Your choice here affects Step 8.
Step 1: Set Up the Document Layout
The goal of this step is to establish margins, font, spacing, and alignment so every section you add afterward sits in the right place.
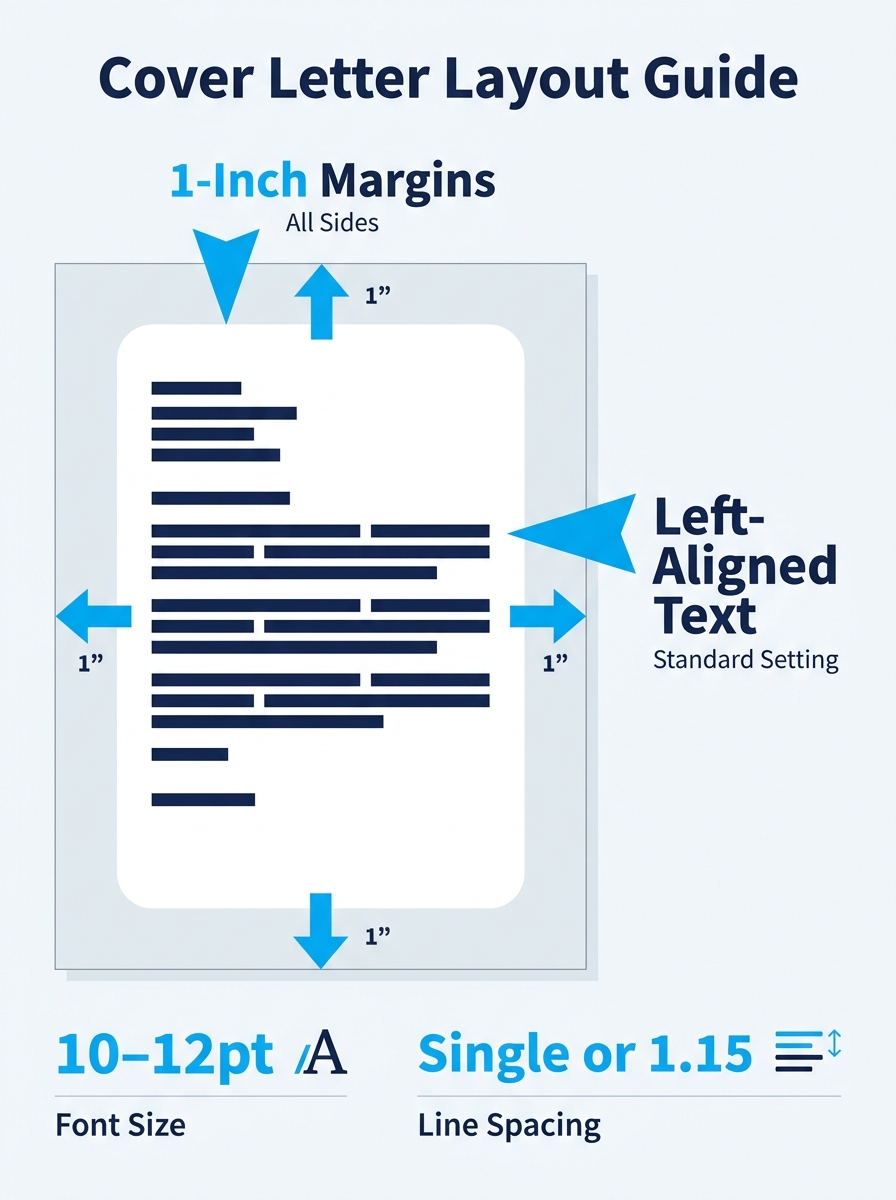
Open a blank document. Set all four margins to 1 inch (2.54 cm). Set line spacing to single-spaced or 1.15 for slightly more breathing room. Choose a professional font at 10–12 point size. Arial, Calibri, Garamond, and Times New Roman are all safe. Left-align all text. Do not center anything, and don’t use justified alignment because it creates uneven word spacing that some ATS parsers misread.
A 2025 formatting audit found that 64% of rejected cover letters failed because of structural or formatting problems rather than weak content, according to industry data compiled by career advisors. Getting these basics right eliminates the most common failure point before you write a single word.
You’ll know it worked when your blank document shows 1-inch margins on all sides and your cursor starts at the left edge with your chosen font visible in the toolbar.
Step 2: Build the Header Block
The header gives the reader your contact information in 3–4 lines at the top of the page. Type your full name on line 1, bolded or in a slightly larger font (14 pt works well). On the next line, type your city and state (full street address is optional and increasingly omitted). Line 3: your phone number. Line 4: your professional email address.
Indeed’s career advice team notes that your email should ideally be “a variation of your name.” Addresses like [email protected] undercut the professionalism you’re trying to signal. A simple [email protected] works fine.
If you have a LinkedIn profile or portfolio URL relevant to the role, add it on a 5th line. If you’ve already optimized your LinkedIn profile for recruiters, including that URL gives the hiring manager a direct path to your professional presence.
You’ll know it worked when your header is 3–5 lines long, left-aligned, and contains at least your name, location, phone, and email.
Step 3: Add the Date and Employer Address
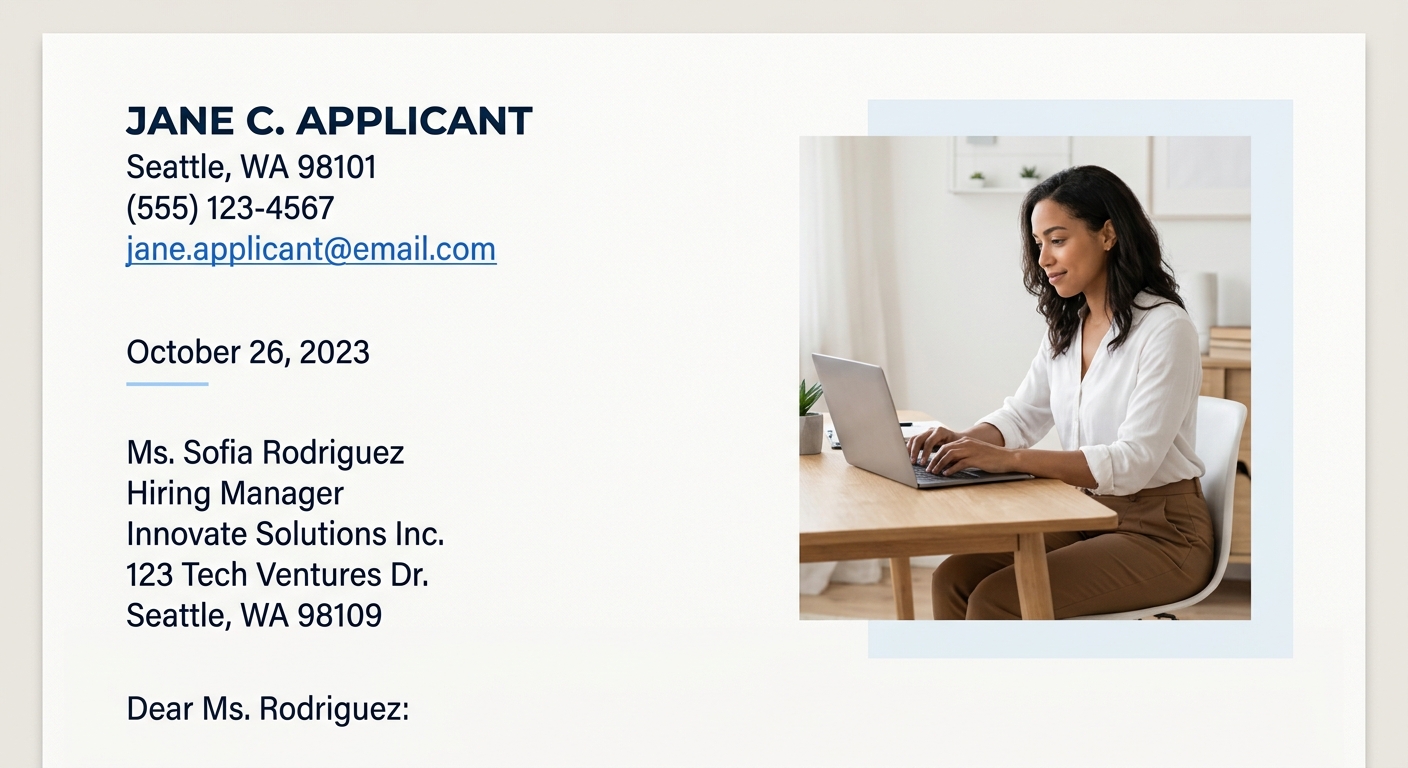
Skip one blank line below your header. Type the full date (e.g., September 24, 2026). Skip another blank line, then type the employer’s information: the hiring manager’s name and title, the company name, and the company address. Each goes on its own line.
If you don’t know the hiring manager’s name, check the job posting, the company’s LinkedIn page, or the “About Us” section of their website. The University of Michigan’s Career Center specifically advises using LinkedIn and the organization’s website to gather this information. When you genuinely can’t find a name, use the department: “Hiring Committee, Marketing Department.”
You’ll know it worked when there’s a clear visual separation between your contact block and the employer’s, with the date sitting between them.
Step 4: Choose a Salutation
Skip one blank line after the employer address. Type your greeting followed by a colon.
The best option is a named person: “Dear Ms. Rodriguez:” or “Dear Alex Kim:” (use the full name if you’re unsure about gender or preferred title). If you have a department but no name, use “Dear Marketing Team:” or “Dear Hiring Manager:”. Avoid “To Whom It May Concern,” which reads as outdated and impersonal. Career data consistently flags it as one of the phrases hiring managers notice negatively.
You’ll know it worked when your salutation names a specific person or, at minimum, a specific department.
Step 5: Write the Opening Paragraph
This paragraph is 2–4 sentences long and answers two questions: what role you’re applying for, and why you’re a strong match. MIT’s career advising guide puts it directly: “State clearly in your opening sentence the purpose for your letter and a brief professional introduction.”
Here’s a concrete example:
I’m writing to apply for the Senior Data Analyst position at Meridian Health, posted on your careers page on September 15. With six years of experience building predictive models for healthcare organizations and a track record of reducing readmission forecasting errors by 22%, I’m confident I can contribute to your population health analytics team from day one.
That’s 55 words. It names the role, names the company, gives a specific credential, and includes a quantified achievement. The hiring manager immediately knows who you are and why you’re writing. Compare that to a generic opener like “I am excited to apply for the position at your esteemed company,” which tells the reader nothing specific.
You’ll know it worked when your opening paragraph names the exact job title, the company, and at least one reason you’re qualified, all in 4 sentences or fewer.
Step 6: Write the Body (1–2 Paragraphs)
The body is where you sell your fit. Current best practice calls for cover letters between 250 and 400 words total and 3–5 paragraphs from salutation to sign-off. That gives the body 1–2 paragraphs of roughly 75–120 words each. Letters exceeding 500 words are rarely read in full, according to hiring manager surveys.
A cover letter that answers three questions—Why you? Why this role? Why this company?—covers everything a hiring manager wants to know.
Body paragraph 1: Why you and why this role. Pick 2–3 achievements from your resume that directly map to the job posting’s requirements. Don’t restate your resume bullets word-for-word. Instead, add context: the challenge you faced, what you did, and the measurable result. As Novoresume’s 2026 cover letter guide instructs, focus on “selling” your skills, achievements, and relevant professional experiences. Bullet points are acceptable here if the role is achievement-heavy, but keep them to 2–3 maximum.
Body paragraph 2: Why this company. Show you’ve researched the organization. Reference a specific initiative, product, or value that drew you to the role. This paragraph separates tailored letters from mass-produced ones, and if you’ve already read our complete cover letter format guide, you’ll recognize this as the section that most candidates skip and most hiring managers notice.
You’ll know it worked when each body paragraph contains at least one quantified achievement and at least one detail specific to the company or role.
Step 7: Write the Closing and Sign-Off
The closing paragraph runs 2–3 sentences. Reiterate your enthusiasm for the specific role (name it again), express appreciation for the reader’s time, and include a forward-looking statement like “I’d welcome the opportunity to discuss how my experience with X aligns with your team’s goals.”
Forbes contributor Goldie Chan recommends closing by “reminding the reader why you are the best candidate for the job” and ending with a professional sign-off.
After the closing paragraph, skip one line and type your sign-off. “Best regards,” and “Sincerely,” are the two safest options. Skip 1–2 lines, then type your full name. If you’re printing the letter, that gap is where your handwritten signature goes. For digital submissions, a typed name is sufficient.
You’ll know it worked when your closing paragraph mentions the role by name, thanks the reader, and ends with a standard sign-off followed by your full name.
Step 8: Export and Name Your File
Save the document, then export it as a PDF (File → Download → PDF in Google Docs, or File → Save As → PDF in Word). Open the PDF and scan it to confirm nothing shifted: margins should still be 1 inch, text should stay on one page, and fonts should render correctly.
Name the file using this pattern: FirstName_LastName_CoverLetter.pdf (e.g., Maria_Santos_CoverLetter.pdf). Avoid generic names like “cover letter.pdf” or “document1.pdf.” If the posting specifies a naming convention, use that instead.
You’ll know it worked when you open the PDF on a different device or in a browser and the layout matches exactly what you see in your word processor. For a deeper walkthrough of the overall formatting decisions that affect ATS parsing, our guide on how to format a cover letter covers the technical details at length.
When Things Go Wrong
Three problems come up repeatedly, and each has a clear fix.
The letter spills onto page 2. Your letter should be one page, always. If it’s running long, cut the body paragraphs first. Reduce to 2 achievements instead of 3. Trim any sentences that repeat information already in your resume. If you’re still over, drop font size to 10 pt (never below) or reduce margins to 0.75 inches (never below). A concise letter that stays within 250–400 words rarely has this problem.
The ATS strips your header information. Some applicant tracking systems can’t read text placed inside Word’s built-in header/footer fields. Type all contact information in the body of the document instead. Avoid text boxes and multi-column layouts for the same reason. If you’re working from a cover letter template, double-check that contact info sits in the main text area rather than a header field.
The greeting sounds generic or wrong. “To Whom It May Concern” is the most frequently cited red flag in cover letter advice. Spend 5 minutes on LinkedIn searching for the hiring manager’s name. If you find it, use it. If you find nothing, “Dear Hiring Manager:” is a perfectly acceptable default that reads as modern and direct.
Tip: Before you submit, paste your cover letter text into a plain-text editor (Notepad or TextEdit). If any formatting looks garbled or sections collapse into each other, your ATS compatibility is at risk. Fix spacing in your word processor and re-export.
Where to Go From Here
You now have a fully formatted cover letter that follows the standard business letter structure and passes ATS parsing. The next step is customization. Every job posting should get its own version of the body paragraphs, with achievements and company research tailored to that specific role. Canva, Microsoft Word, and Google Docs all offer free templates you can use as starting points, and Princeton’s Center for Career Development makes the point clearly: templates are “a starting point,” because “each student’s experience and motivations are unique.”
Save your completed letter as a master template. Duplicate it for each application, swap in the company details and relevant achievements, and export a fresh PDF each time. The formatting work you did today carries forward into every application. The content changes; the structure stays.