
 4.9
4.9 4.5
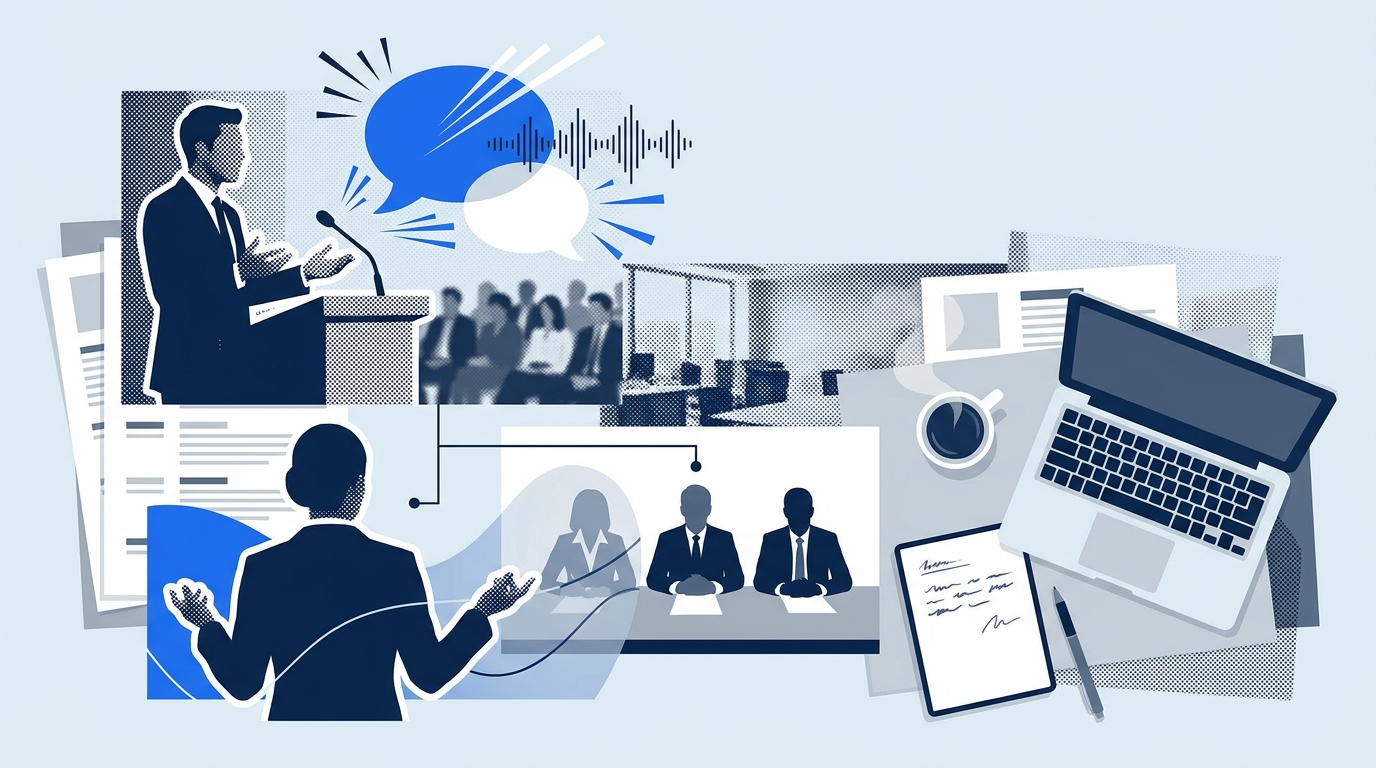
4.5Six concrete steps separate a candidate who rambles from one who commands a job interview. This guide applies public speaking techniques to interview preparation: answer structure, vocal delivery, body language, and anxiety management. Total time commitment is about three hours over two days, with a verification check at each step.
TL;DR: Structure every answer using the STAR framework, practice on camera until your filler-word count drops below three per minute, and reframe pre-interview nerves as excitement. These three changes address the large majority of what makes candidates underperform.
Before You Start
You need four things before step one: a job posting you’re actively interviewing for (or one you’d realistically apply to), a smartphone or laptop with a camera, a quiet room where you can speak out loud for 20 minutes without interruption, and a printed or digital list of the job’s top five responsibilities. No special apps required. Total time across all six steps: approximately three hours, split across two sessions.
You should also have a basic grasp of the role’s key competencies. If you’ve already drafted a tailored resume or written a cover letter for the position, pull those documents out now. The stories you told in your application materials are your starting raw material for spoken answers.
Step 1: Reframe the Interview as a Presentation to an Audience of One
The goal of this step is to shift your mental model from “interrogation I need to survive” to “presentation I need to deliver well.” Sixty percent of employers rank public speaking as a key competency when evaluating candidates, and the reason is practical: the ability to convey information clearly, listen actively, and adapt your communication style to different audiences is the same skill set required in daily work.
The most common public speaking advice in any context is to stop thinking about yourself and focus entirely on your audience. In an interview, your audience is one to three people sitting across from you or visible on a screen. Their question isn’t “is this person impressive?” It’s “can I picture this person doing this job on day 30?” Every answer you give should help them build that picture.
Write one sentence at the top of your prep notes: “My job in this conversation is to make it easy for the interviewer to see me in the role.” That’s your anchor for every step that follows.
Verification: You can describe the interviewer’s likely concerns (tight deadline on filling the role, need for fast onboarding, team dynamic gaps) in two sentences without referring to yourself.
Step 2: Build a Bank of STAR-Formatted Answers
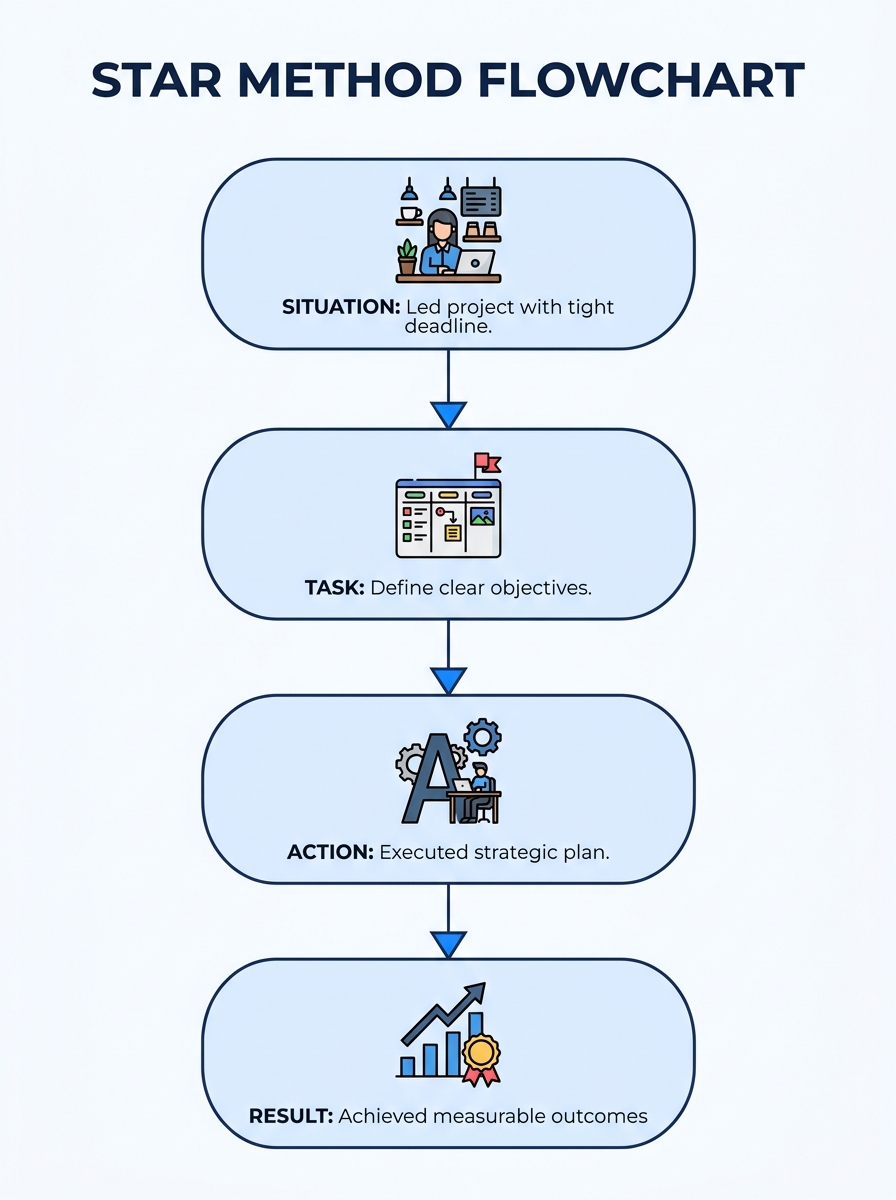
The STAR method (Situation, Task, Action, Result) was originally developed for performance evaluations and later popularized by firms like Amazon and Deloitte as their standard interview response framework. It works because it forces you to tell a concise, verifiable story instead of making vague claims about your capabilities.
Here’s what each component looks like in practice:
- Situation: One sentence establishing context. “Our team’s quarterly revenue was down 12% heading into Q3.”
- Task: One sentence naming your specific responsibility. “I was asked to redesign the outbound email sequence.”
- Action: Two to three sentences describing exactly what you did. Name tools, methods, and decisions.
- Result: One sentence with a number. “Open rates went from 14% to 31%, and pipeline value increased by $220K over 90 days.”
Build five to seven STAR stories mapped to the top responsibilities on the job posting. Write them out in full sentences. Don’t memorize them word for word, but know the structure cold so you can adapt each story to different questions.
If you’ve already done work on quantifying your achievements for your resume, those same numbers belong in your STAR bank. The overlap is intentional.
Verification: Read each STAR story out loud. If any takes longer than 90 seconds to deliver, cut the Action section. If the Result doesn’t include a number or measurable outcome, add one.
Step 3: Record Yourself and Count the Filler Words
This is where most people skip ahead, and it’s exactly where public speaking advice becomes most actionable. Research on interview communication consistently shows that great delivery starts with clarity of thought and deliberate practice, which means organizing your ideas before speaking, refining through recording and feedback, and paying attention to non-verbal cues like eye contact and posture.
Set your phone to record video. Pick your strongest STAR story and deliver it as if an interviewer just asked, “Tell me about a time you solved a difficult problem.” Watch the recording once and count three things:
- Filler words (“um,” “uh,” “like,” “you know”). Your target is fewer than three per minute.
- Eye contact drift. Are you looking at the camera or where the interviewer would be, or staring at the ceiling while you think?
- Answer length. Did you stay under 90 seconds?
A public speaking instructor quoted by The Hired Guns puts it well: “It’s fine, even good, to let someone see you think. It just proves that you can.” Pausing for a beat before answering feels awkward to you but signals thoughtfulness to the interviewer. What kills your credibility is filling that pause with “ummm” for four seconds straight.
Do three rounds of recording, watching, and re-recording. Your filler count will drop noticeably by round two. By round three, your pacing will feel natural and your STAR structure will hold together without requiring conscious effort.

Verification: On your third recording, your filler-word count should be three or fewer per minute, your answer should land between 60 and 90 seconds, and you should be able to watch the playback without wincing at any single moment. If you still wince, record a fourth round.
Step 4: Lock In Your Body Language Defaults
Fifty-five percent of communication impact is non-verbal, and audiences can predict a speaker’s effectiveness within seven seconds based on posture and gestures alone. For an interview, you don’t need theatrical body language. You need a reliable set of physical defaults that project calm confidence without requiring conscious thought during the actual conversation.
Your four defaults to rehearse:
- Sit with an open posture. Uncrossed arms and legs signal approachability. Lean forward slightly to show engagement. Don’t sprawl, but don’t sit rigidly either.
- Anchor your hands. Rest them on the table or in your lap. When you make a point, use small, purposeful gestures, then return to the anchor position.
- Maintain soft eye contact. Look at the interviewer’s face (or the camera for virtual interviews) about 70% of the time. Break contact naturally when thinking.
- Mirror selectively. If your interviewer leans in when you’re describing a project, match that energy. Subtle mirroring builds rapport without feeling manufactured.
Body language is often subconscious, which means the signals your body sends can contradict what your mouth is saying. When words and gestures match, interviewers register confidence. When they don’t, interviewers register doubt.
Practice your STAR stories one more time, paying attention to posture, hand placement, and eye contact rather than content. You already know the content from Step 3.
Verification: Record one more STAR answer focused purely on body language. Watch it on mute. If you look like someone engaged and comfortable in conversation, the defaults are working. If you see crossed arms, fidgeting, or darting eyes, reset your anchors and record again.
Step 5: Manage Nerves in the Final 30 Minutes
Interview anxiety affects roughly 77% of the population, and no amount of preparation eliminates it entirely. Candidates with confident presentation skills are 70% more likely to be promoted to management roles, while fear of speaking can reduce wages by 10%. The stakes feel real because they are real. Your goal here isn’t to feel calm. It’s to perform well despite feeling nervous.
Two techniques work reliably in the 30 minutes before an interview:
Controlled breathing. Breathe in for four counts, hold for four, exhale for six. Repeat five times. The extended exhale activates your parasympathetic nervous system, which physically slows your heart rate. This is physiology, not positive thinking.
Reframe nerves as excitement. Drexel University’s career services team recommends being honest about your nerves and recognizing you’re not alone. One job seeker on Reddit’s r/careerguidance shared a line worth adapting to your own voice: “I’m a bit nervous, but that’s because I’m really excited about the opportunity, and I’m hoping you see I’m a good fit for this job.” Research shows confident speakers demonstrate 22.6% more passion than nervous ones. Naming your nerves and redirecting them toward enthusiasm bridges that gap effectively.
Tip: For virtual interviews, stand up for the five minutes before the call starts. Standing shifts your posture and breathing pattern, and you’ll sit down with more physical energy than if you’d been hunched over your desk for the past hour.
Verification: You’ll know this step worked if you can begin the interview with a genuine smile and a steady voice for your first answer. You don’t need to feel relaxed. You need to sound steady for the opening 60 seconds, after which your brain adjusts to the conversation and adrenaline becomes useful rather than paralyzing.
Step 6: Read the Room and Adjust in Real Time
Eighty-six percent of interviews now include a virtual component, and 92% of professionals believe presentation skills are crucial for work success. Whether you’re on a video call or sitting across a conference table, the final skill is real-time adaptation.
Three signals to watch for during the interview:
- The interviewer glances at their watch or screen. Your answer is running long. Wrap your current point in one sentence and ask, “Would you like me to go deeper on that, or should we move to the next question?” This is public speaking advice adapted directly from stage work: always give your audience an exit ramp.
- The interviewer leans in or nods. You’ve hit something that resonates. Slow down slightly and add one more specific detail. Don’t rush past the moment that’s working.
- The interviewer looks confused or asks you to clarify. You were too abstract. Drop into a concrete example immediately. “Let me give you a specific case” is always the right recovery line.
Using inclusive language in your answers (“we achieved,” “our team delivered”) helps the interviewer feel involved in the story. Research indicates speakers who use inclusive framing demonstrate nearly 47% more audience engagement than those who speak purely in “I” statements. Balance matters: you need credit for your individual contribution, but you also need to sound like someone others would want on their team.
When Things Go Wrong
Three common failure points and how to recover from each:
Problem 1: You blank on an answer mid-sentence. Say “Let me take a moment to collect my thoughts,” then pause for three to five seconds. The interviewer will wait. Silence feels longer to you than it does to them. If you still can’t retrieve the story, pivot: “I want to give you the best example, so let me come back to that. Could we move to the next question?” Interviewers respect honesty far more than a rambling attempt to stall.
Problem 2: Your STAR answer runs past two minutes. You’ll feel it happening when you start adding context that wasn’t in your rehearsed version. Stop yourself with “And the result was [outcome]. I can elaborate on any part of that,” then wait. The interviewer will either ask a follow-up (which means they’re engaged) or move on (which means you covered enough).
Problem 3: You can’t stop fidgeting or your voice is shaking. Press your feet flat into the floor and push down gently. This creates a physical grounding sensation that reduces visible trembling. For vocal shakiness, slow your speaking rate by about 20%. A slower pace sounds deliberate rather than anxious, and it gives your vocal cords time to stabilize. If you’ve already done interview preparation with mock sessions, these physical responses should decrease with repetition.
Where to Go From Here
The six steps above cover the core public speaking advice that translates directly to interview performance. If you’ve completed all the verification checks, you’re better prepared than the large majority of candidates who walk in with content knowledge but zero delivery practice.
Two natural directions to take from here: First, run a full mock interview with a friend, mentor, or career coach who will give honest feedback on both content and delivery. One job seeker on Reddit credits a senior manager mentor who invites other managers to participate in practice sessions, simulating real panel pressure. That kind of rehearsal under realistic conditions is where solid preparation becomes reliable performance. Second, make sure your written materials match the communication quality you’re building in person. A strong interview backed by a polished cover letter creates a consistent impression across every touchpoint in the hiring process.
The pattern across all six steps is the same one that drives effective public speaking in any context: know your audience, structure your message, rehearse your delivery, and stay responsive once the conversation starts. Interviews feel different from presentations because the stakes are personal, but the underlying mechanics are identical. Practice the mechanics, and the personal stakes become easier to carry.