
 4.9
4.9 4.5
4.5This guide walks you through building a template of a cover letter from scratch, header through sign-off, using free tools from Microsoft Word or Canva, in a format that stays under one page and meets the 10–12 point font standard recommended by MIT’s career advising office.
TL;DR: Grab a free template from Microsoft Word or Canva, then customize it using 6 steps: header block, named greeting, opening hook, achievement-driven middle, closing call to action, and professional sign-off. Keep everything single-spaced, one page, 10–12 pt font, and save as both an editable file and a PDF so you can reuse it for every application.
Before You Start
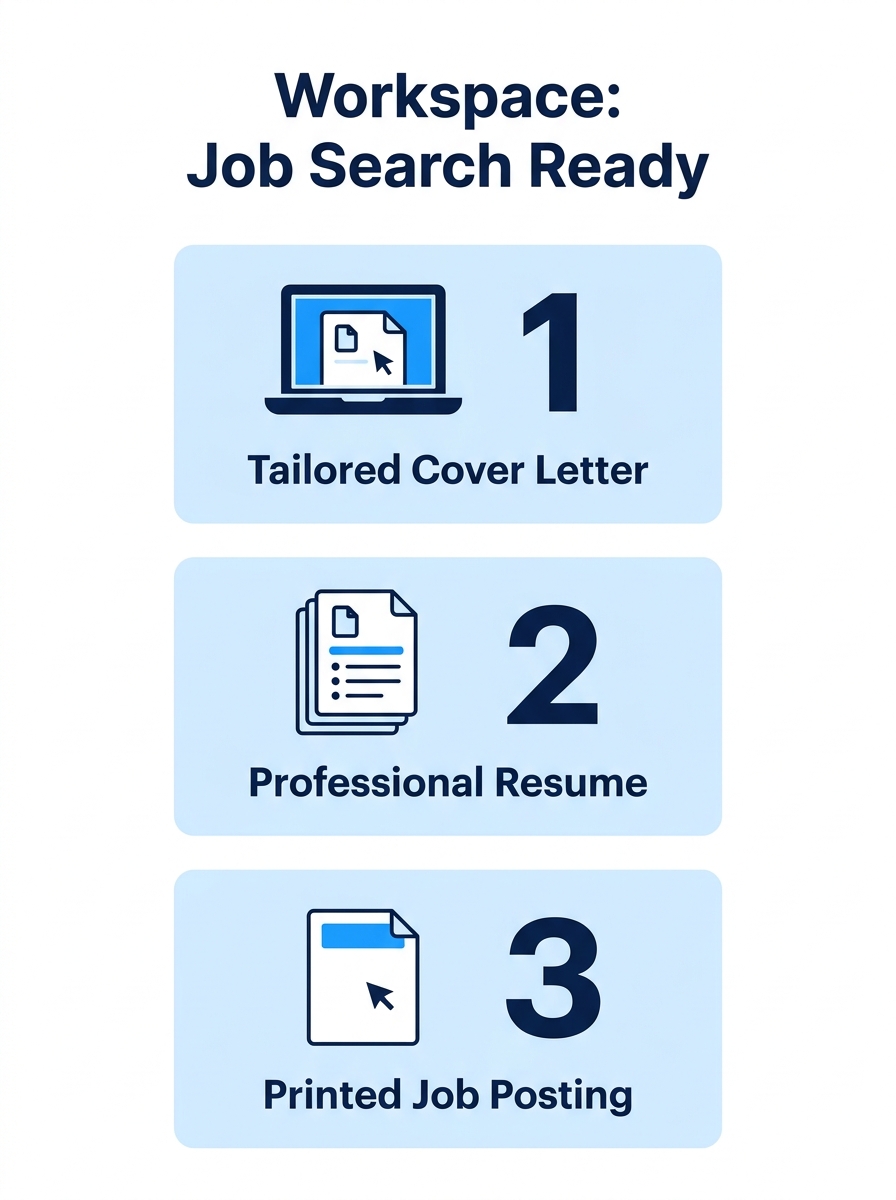
You need three things ready before step 1: a target job posting (or a representative one from your field), your most recent resume, and access to either Microsoft Word or Canva, both offer free cover letter templates you can edit online. Google Docs works too, though it has fewer built-in cover letter layouts.
Time commitment: about 45–60 minutes for your first template. After that, customizing it per application takes 10–15 minutes.
Knowledge level: None required beyond basic word processing. If you can type into a text field and change font sizes, you’re set.
Here’s what to gather before you open your template:
- The hiring manager’s name (check the job posting, the company’s team page, or LinkedIn)
- 2–3 quantified achievements from your resume that match the target role
- The company name, job title, and 1–2 specific requirements from the posting
- Your contact information: full name, phone number, email, city and state (full street address is optional in 2026)
Step 1: Set Up Your Header Block
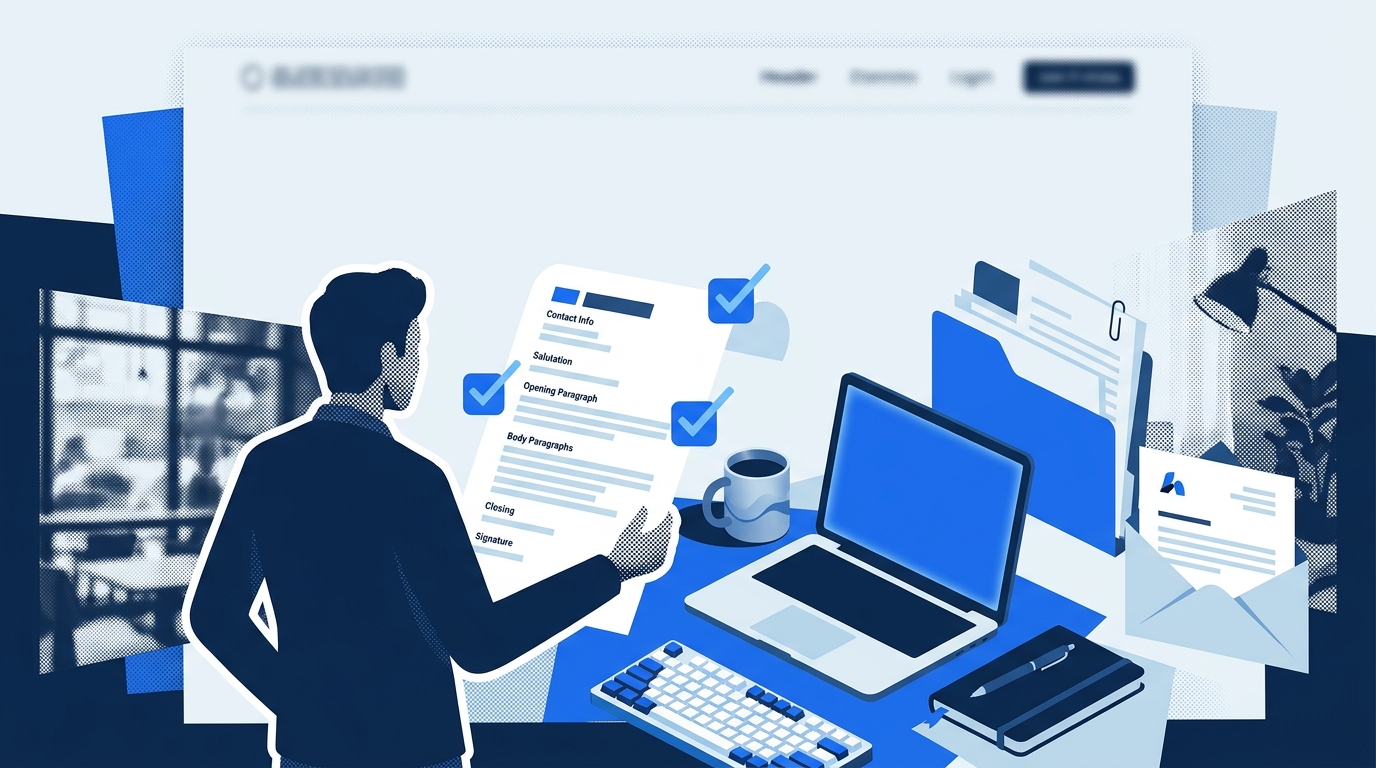
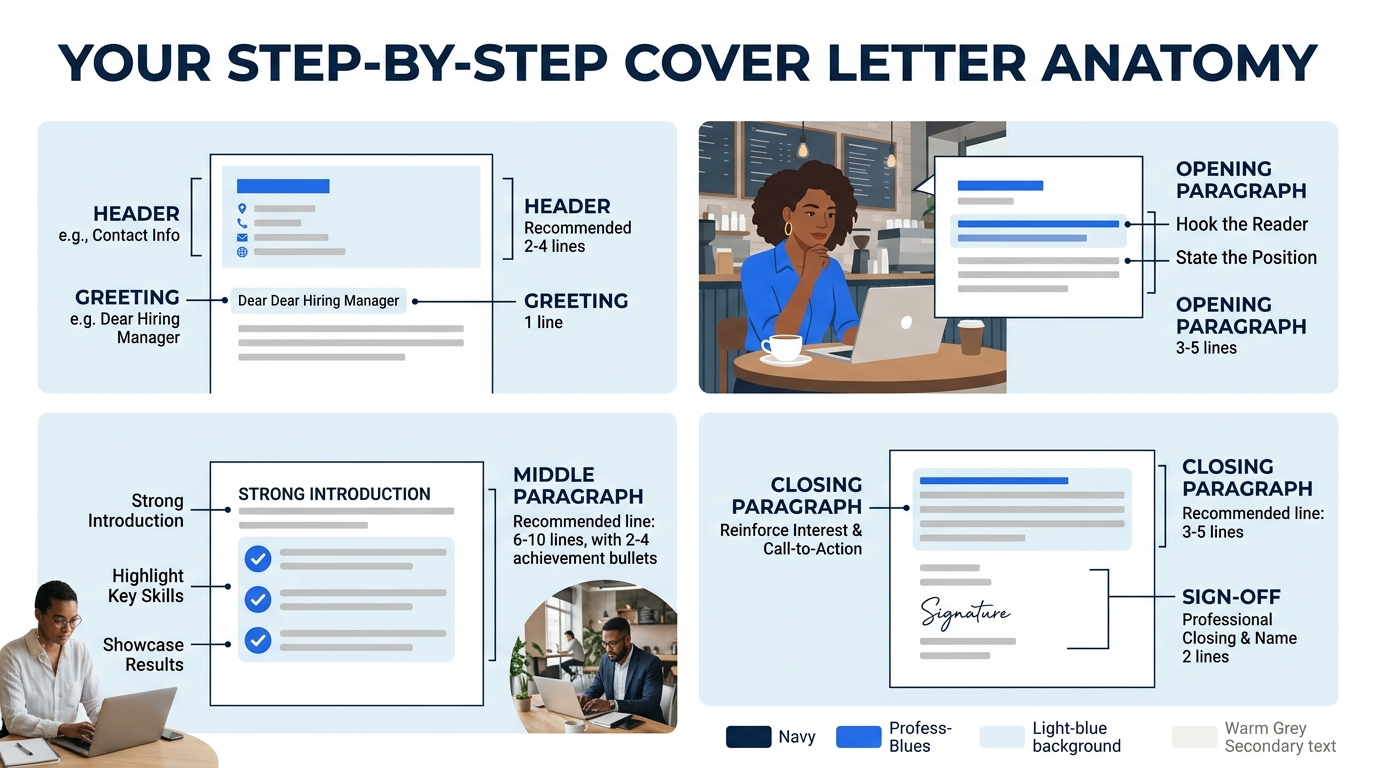
The header is the first thing a recruiter’s eye hits, and it takes about 3 minutes to get right. Your goal here is to match the visual structure of a business letter while keeping your contact details scannable.
Place your full name at the top in 14–16 pt font, 2–4 points larger than your body text. Directly below it, list your phone number, professional email address, and city/state on a single line or stacked on separate lines. According to MyPerfectResume’s 2026 template guidelines, you should leave two blank lines between your header block and the greeting for a clean, professional layout.
Below your contact info, add the date (spell out the month: “September 2, 2026,” not “9/2/26”), then skip one line and type the recipient’s name, title, company name, and company address.
You’ll know it worked when your header fills roughly 5–6 lines of the page, your name is the largest text element, and there’s clear visual separation between your information and the recipient’s.
Tip: If you’re using a Microsoft Word or Canva template, the header is already formatted. Double-click into the placeholder text fields and replace them with your own information, don’t retype the layout from scratch.
Step 2: Address the Hiring Manager by Name
Skip one line after the recipient’s address and type your greeting. The goal is specificity: “Dear Ms. Alvarez,” or “Dear Hiring Manager Jordan Lee,” rather than “To Whom It May Concern.”
Indeed’s cover letter formatting guidance recommends addressing the letter directly to the person who’ll read it. LinkedIn is your fastest research tool here, search the company name plus “hiring manager” or “recruiter” for the department you’re applying to. Our guide on searching for contacts on LinkedIn covers the mechanics in detail.
If you genuinely cannot find a name after 5 minutes of searching, use “Dear [Department Name] Hiring Team”, it’s specific enough without being generic. Avoid “Dear Sir/Madam,” which reads dated.
You’ll know it worked when your greeting addresses a specific person or team by name, followed by a comma (not a colon, unless you’re applying to a law firm or government agency where formal punctuation is standard).
Step 3: Write an Opening Paragraph That States Your Case
This is the paragraph most people agonize over, and the one that matters most. Your goal: tell the reader who you are, what role you want, and one concrete reason they should keep reading. Do this in 2–4 sentences, no more.
The opening isn’t where you recite your life story. It’s where you connect a specific skill or result to the specific job. A strong opening might read: “I’m a project manager with 6 years of experience delivering SaaS implementations under budget, and I’m writing to apply for the Senior PM role at Meridian Software.”
Since many companies now run applications through applicant tracking systems, and recruiters increasingly use the best recruitment tools to screen and rank candidates, your opening paragraph should include the exact job title from the posting. This helps both human readers and automated systems match your letter to the right requisition.
You’ll know it worked when someone reading only your first paragraph could tell you: (1) what job you’re applying for, (2) your relevant experience level, and (3) one reason to read further.
Step 4: Build a Middle Section Around Specific Achievements
The middle paragraph (or two short paragraphs, depending on how much space you have) is where you prove the claim you made in the opening. Your goal is to match 2–3 achievements from your resume to the top requirements listed in the job posting.
Pull the 2 or 3 highest-priority requirements directly from the posting and pair each one with a specific, quantified result from your experience. Instead of “I have experience with data analysis,” try: “At Fenwick Analytics, I built dashboards that reduced the sales team’s report generation time from 4 hours to 20 minutes per week.”
This isn’t a place for vague personality traits. Keep each accomplishment anchored to a number, a dollar figure, a percentage, a count, a time saved. If you need help identifying which accomplishments to feature, our breakdown of cover letter templates by job type shows how different industries prioritize different metrics.
As MIT’s Career Advising & Professional Development office notes, a cover letter should stay at one page maximum and use a font size between 10 and 12 points. That page limit means your middle section gets roughly 8–12 lines of text, so every sentence has to earn its place.
You’ll know it worked when each achievement in your middle section directly maps to a requirement in the job posting, and each one includes at least one specific number.
Every sentence in your middle section has to earn its place, one page means roughly 8–12 lines for achievements, and vague claims consume space without building a case.
Step 5: Close With a Direct Ask
Your closing paragraph serves one function: request the next step. This isn’t the place to summarize your whole letter or repeat your qualifications. State your interest, name a specific action, and thank the reader.
A clean close looks like: “I’d welcome the chance to discuss how my experience with enterprise onboarding aligns with Meridian’s expansion goals. I’m available for a call at your convenience and can be reached at (555) 412-8800. Thank you for your time.”
After the closing paragraph, skip one line, type your sign-off (“Best regards,” or “Sincerely,”), skip 3–4 lines (this is your signature space if printing), and type your full name. MyPerfectResume’s template formatting standard specifies adding two blank lines before your signature block for readability.
You’ll know it worked when your closing paragraph contains exactly one ask (a call, an interview, a meeting), your sign-off matches the formality of your greeting, and your full name appears at the bottom.
Step 6: Save It as a Reusable Template
This is the step that separates a one-time cover letter from a template of a cover letter you can use again. Your goal is to create a version of this document where the reusable structure stays locked in place while the customizable parts are clearly marked.
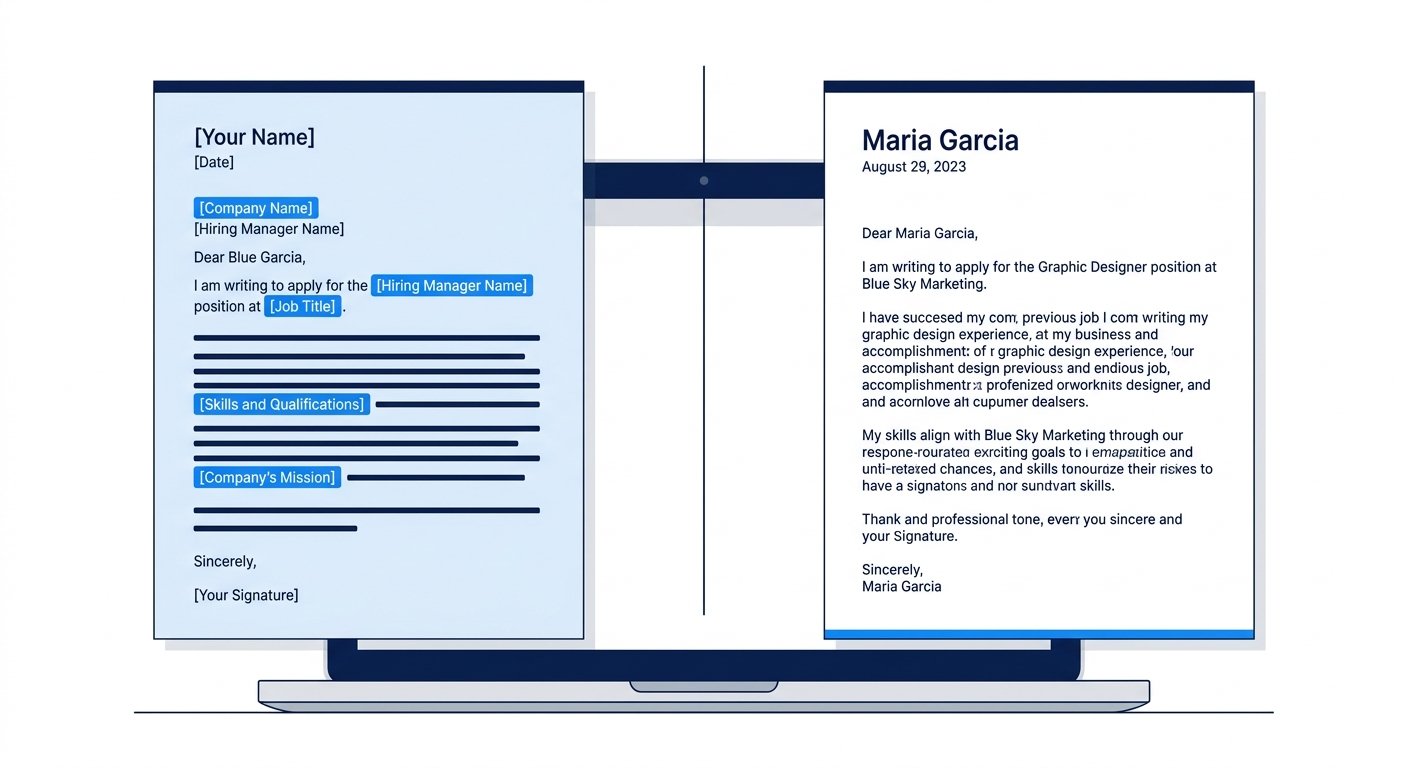
Go back through your finished letter and replace every company-specific reference with a bracketed placeholder. For example: “[Company Name],” “[Job Title],” “[Specific Achievement #1],” “[Hiring Manager Name].” Keep your header, formatting, sign-off, and sentence structures intact. Save this version as a separate file, something like “Cover-Letter-Template-Master.docx.”
Then save a second copy of your completed, customized letter as a PDF for the application you’re submitting now. Microsoft Word’s template system lets you save files as .dotx templates, which open as new untitled documents every time, preventing you from accidentally overwriting your master file.
If you’d like to see how different template structures look before building your own, the cover letter template examples guide on this site walks through several complete samples with formatting notes.
You’ll know it worked when you have two files: one editable master template with bracketed placeholders, and one finished PDF ready to submit.
When Things Go Wrong
Three problems come up more than any others when people build their first cover letter template:
The letter runs longer than one page. This happens when the middle section tries to cover every qualification instead of the top 2–3. Fix it by removing any achievement that doesn’t directly map to a stated requirement in the job posting. Cut your font size to 10.5 pt if needed, but don’t go below 10, anything smaller becomes hard to read and looks like you’re trying to cheat the page limit.
The greeting says “To Whom It May Concern.” This is fixable 90% of the time. Check LinkedIn for the hiring manager’s name, call the company’s front desk, or look at the team page on their website. If you’ve been struggling with this part of the job search process, our post on the frustration of customizing applications covers shortcuts that save real time.
The template doesn’t survive copy-paste into an application portal. Some online portals strip formatting when you paste text. Before submitting, paste your letter into the portal’s text field and review it for broken line spacing, missing bullet points, or merged paragraphs. If the portal accepts file uploads, always upload the PDF version instead of pasting.
Warning: Don’t skip the PDF conversion step. Sending a .docx file means the recipient’s version of Word may reflow your layout, shift your margins, or substitute fonts. PDFs lock formatting across every device.
Where to Go From Here
You’ve got a working template and one finished cover letter. The next useful step is building 2–3 template variants, one tuned for roles where your technical skills matter most, one for leadership-oriented positions, and one for career-pivot applications where transferable skills carry the argument. The complete template cover letter guide on this site breaks down how to structure each variant.
From there, pair your cover letter template with a resume that matches its formatting. Consistent visual design between the two documents signals attention to detail, and it’s one of the easiest ways to stand out in a stack of applications. If your resume needs the same kind of structural refresh, the Canva resume builder walkthrough covers how to build one from a matching template.
The template you built today should serve as a starting point for dozens of applications. Each time you apply, swap out the placeholders, check that your achievements align with the new posting’s priorities, and export a fresh PDF. The structural work is done, the customization gets faster every time you do it.