

 4.9
4.9 4.5
4.5Typing “marketing manager” into LinkedIn’s Jobs tab returns roughly 12,000 results in the United States alone. This guide walks you through the filters, Boolean operators, and alert settings that collapse those 12,000 listings into a targeted daily feed, in about 20 minutes of setup time.
TL;DR: Use LinkedIn’s natural-language search to describe the role you want in plain English, then stack filters for date posted, experience level, and applicant count. Save each refined search, set alerts to Daily frequency, and apply within 24 hours of posting, early applicants are 4x more likely to be reviewed.
Before You Start
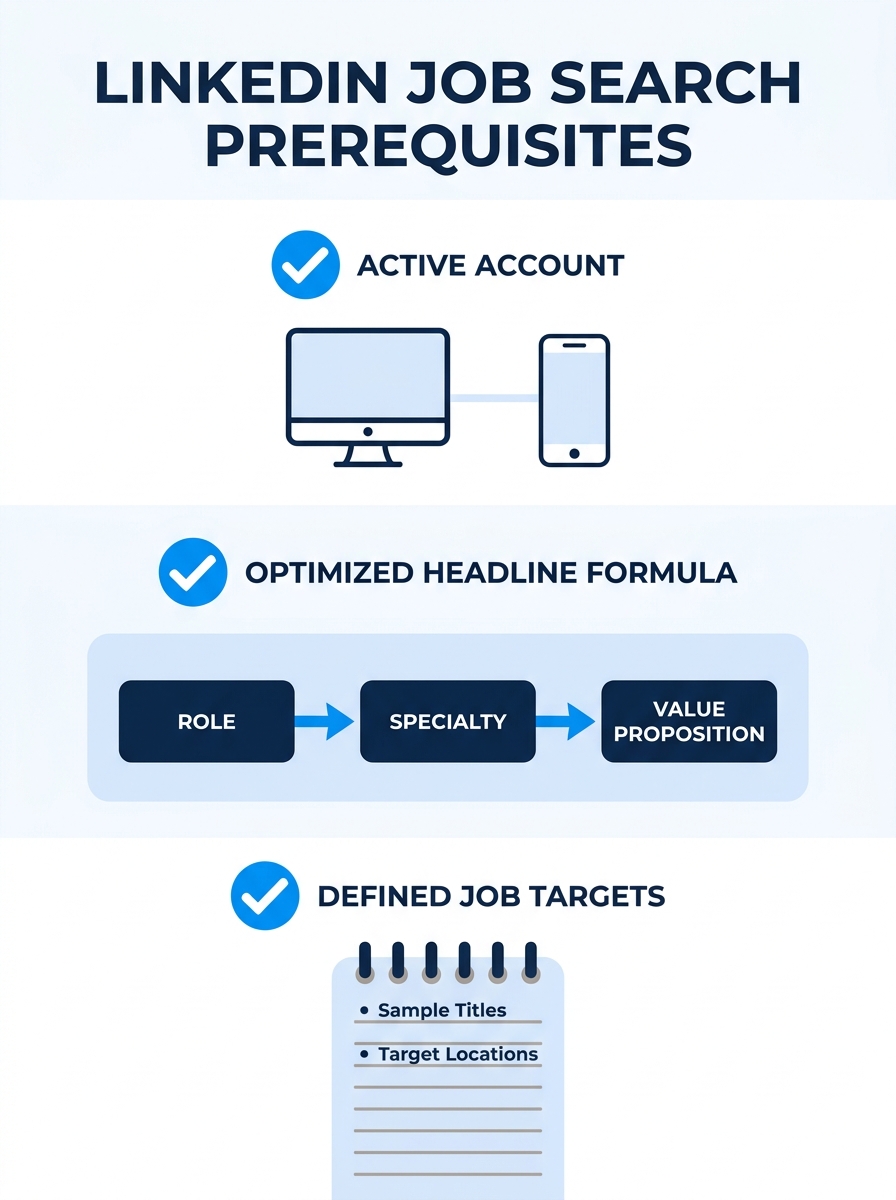
You need three things in place before any search tactic makes a difference:
A LinkedIn account (free works). Premium features like expanded “Who viewed your profile” data and InMail credits are useful but not required for effective searching. LinkedIn’s help documentation recommends downloading the mobile app alongside desktop access, since saved jobs and alerts sync across both platforms and mobile push notifications keep you from missing early application windows.
A complete profile. LinkedIn’s algorithm personalizes your job results based on your headline, skills, and work history. If your profile is thin, the algorithm has less data to work with, and your results will be generic. Profiles with keyword-rich headlines using the format [Role] | [Specialty] | [Value Proposition] receive 40% more InMails from recruiters. If you haven’t built yours out yet, our complete LinkedIn profile guide covers every field worth filling in.
A target list. Write down 5-10 job titles you’d accept, 3-5 industries you’re interested in, and your location requirements (remote, hybrid, specific cities). You’ll use these as the raw material for your searches in Step 1.
Step 1: Describe the Role You Actually Want
LinkedIn’s search bar in the Jobs tab now works with natural language. You can type “I want to use my marketing skills to help cure cancer” or “senior designer for fintech in California,” and the platform’s AI will interpret your intent and return relevant listings, according to LinkedIn’s own best practices documentation.
This matters because you no longer have to guess which exact title a company used for a role. Describe what you want to do, and LinkedIn’s semantic search figures out which postings match. Users of LinkedIn’s AI-driven matching see a 27% higher application-to-hire rate compared to those relying on manual keyword searches alone.
The action: Go to the Jobs tab. In the search bar, type a phrase that describes the role, specialty, and location you want. Try two or three different phrasings. “B2B content strategist remote” and “content marketing manager SaaS” will return overlapping but different sets of results.
You’ll know it worked when: your results page shows listings that match your intent rather than random keyword hits. If you’re seeing completely irrelevant roles, your profile needs updating. LinkedIn weights your profile data alongside your query to determine relevance.
Step 2: Stack Filters to Cut the Noise
The default results page is too broad for serious searching. LinkedIn offers advanced filters for location, experience level, date posted, company, and applicant count that most candidates skip entirely.
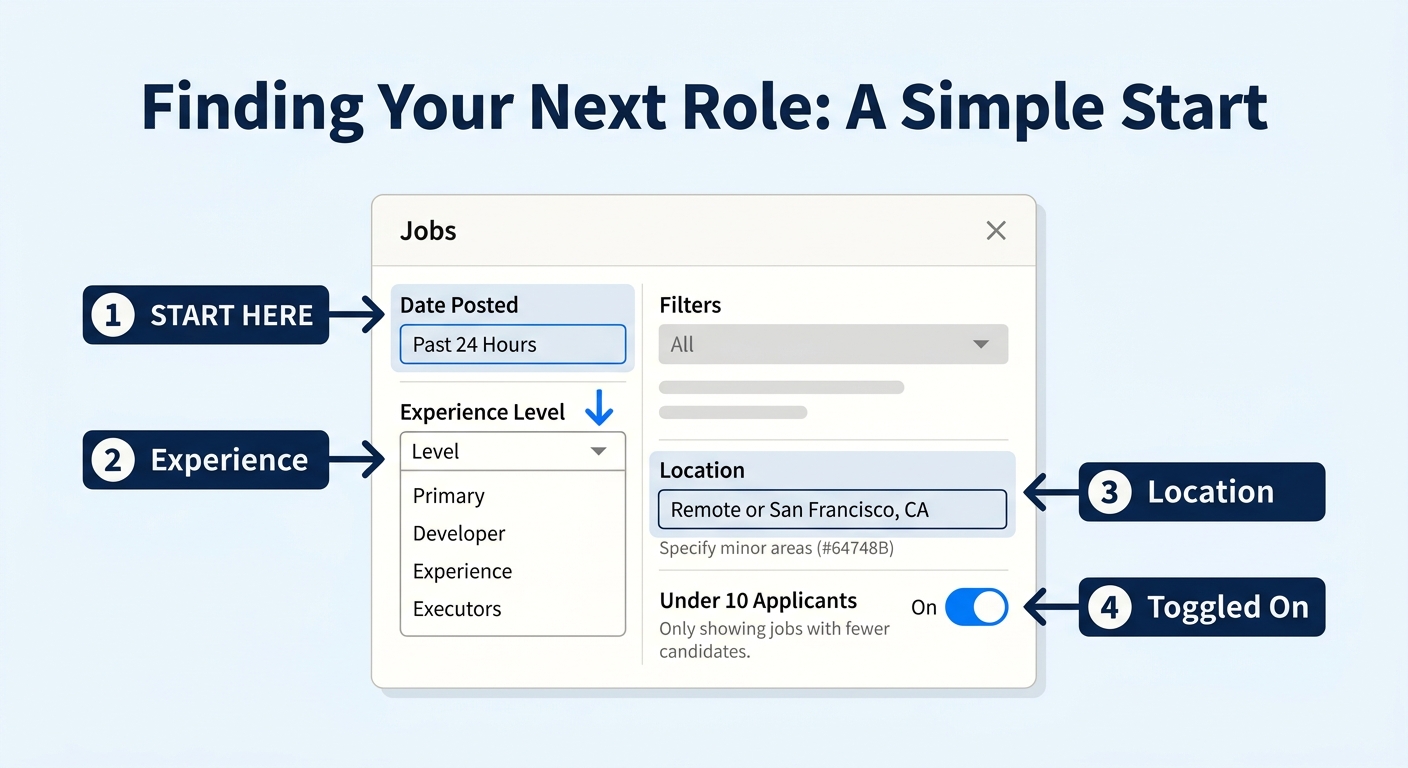
The applicant count filter is the one worth paying attention to. Filtering for roles with “Under 10 Applicants” puts you in front of listings where the hiring manager will actually read your application. Applying within the first 24 hours of a posting gives you a 4x higher chance of being reviewed, and early applicants are 10% more likely to land the job.
The action: After running your initial search, click the filter options at the top of the results page. Set these in order:
- Date Posted: Past 24 hours (for daily searches) or Past Week
- Experience Level: Match your actual level
- Location: Your target city, or select “Remote”
- Under 10 Applicants: Toggle this on when available
You’ll know it worked when: your results shrink from thousands to dozens. That’s the point. You want a tight, relevant list where you’re candidate #4, not candidate #847.
Step 3: Add Boolean Operators for Precision
When filters alone aren’t enough, Boolean operators let you build precise queries. Use AND to require multiple terms, OR to accept alternatives, and NOT to exclude terms you don’t want.
Examples that work in practice:
- “Product Marketing” AND “remote”, both terms must appear in the listing
- “UX Designer” OR “Product Designer”, either title qualifies
- “Marketing Manager” NOT “Director”, excludes senior-level listings you’re not ready for
- “Data Analyst” AND (“Python” OR “SQL”), requires at least one specific technical skill
Put multi-word job titles in quotation marks so LinkedIn treats them as a single phrase. Without quotes, “product marketing” becomes two separate keywords, and you’ll get results that mention “product” and “marketing” in completely unrelated contexts.
The action: Replace your natural-language query with a Boolean string. Run it. Compare the results to your Step 1 search and note which version returns more relevant listings.
You’ll know it worked when: the irrelevant listings disappear. If you searched for “marketing” and kept getting “marketing coordinator” listings when you wanted “marketing director,” adding NOT “coordinator” cleans that up immediately.
Step 4: Save Your Searches and Set Alerts to Daily
Running the same search manually every morning wastes time you don’t have. LinkedIn lets you save any search and receive notifications when new matching jobs appear.
The frequency setting matters more than you’d expect. Weekly alerts mean you’re seeing roles that were posted 3-5 days ago, by which point hundreds of applications have already landed. Daily alerts put you inside the early-applicant window where your odds are measurably better.
The action: After running a filtered search you’re satisfied with, click the “Set alert” toggle at the top of the results page. Set the frequency to Daily. Repeat this for each distinct search you built in Steps 1 through 3. Active job seekers typically maintain 3-5 saved searches simultaneously.
You’ll know it worked when: you receive a notification (email or push) the next day with new listings matching your saved criteria. If you don’t receive anything within 48 hours, check your notification settings under Settings > Communications.
Tip: Don’t create more than 7 saved searches. Too many alerts create noise, and you’ll start ignoring them altogether. Keep each search focused on a specific role-type and location combination.
Step 5: Find Recruiters at Your Target Companies
Job listings are the visible market. But a large share of roles get filled through recruiter outreach and internal referrals before they ever appear as public postings. LinkedIn’s People search lets you find and contact the recruiters working at companies you’re interested in.
Shelley Roth, an entrepreneur, trainer, and consultant who advises job seekers on LinkedIn strategy, recommends finding your connections associated with target companies first and asking questions about company culture and what it’s like to work there, according to her advice published on TopResume. Build genuine relationships before asking for anything.
The action: Switch from the Jobs tab to the People search bar. Type “[Company Name] Recruiter” or “[Company Name] Talent Acquisition” as your query. Filter by location if needed. Send a personalized connection request to 2-3 relevant recruiters per target company.
Personalized connection notes get accepted at a 50-65% rate compared to 30% for generic requests. Your note should be two sentences: who you are and what kind of role you’re interested in at their company.
You’ll know it worked when: at least one recruiter per company accepts your connection request within a week. If your acceptance rate is low, your headline and profile summary are the likely culprit. Recruiters decide within seconds whether to accept based on headline relevance. Our guide on resume mistakes that make candidates invisible to hiring managers covers the same principle from the document side.
Step 6: Engage With Company Content Before You Apply
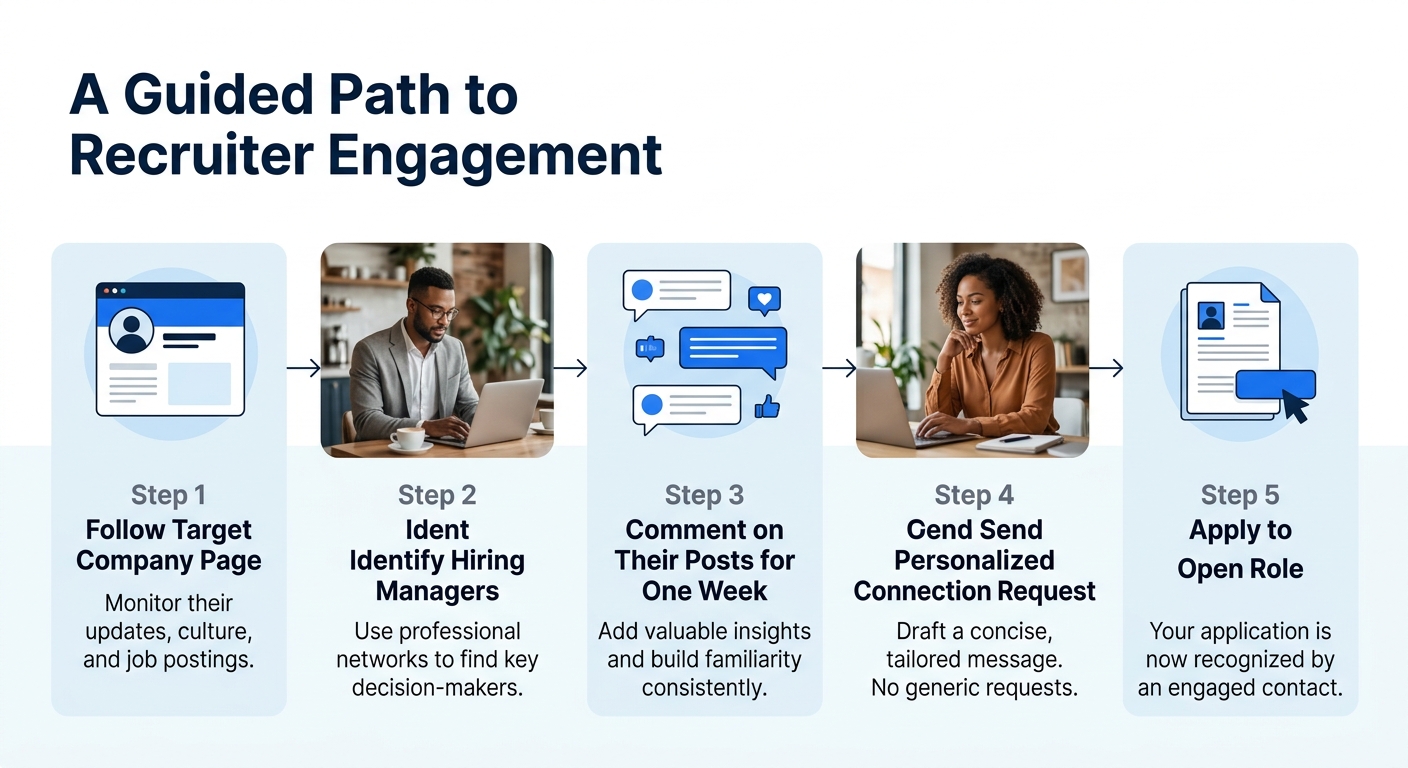
Candidates who engage with a company’s LinkedIn content before submitting an application are 3x more likely to receive a response from the hiring team. When a recruiter sees your name on an application and recognizes it from a thoughtful comment on their VP’s recent post, you’ve already registered as someone who pays attention.
The action: For each of your top 5 target companies, follow their LinkedIn page and 2-3 leaders or hiring managers. Spend 5 minutes a day commenting on their posts with something specific: a question about their approach, a data point from your own experience, or a genuine reaction to something they shared. Do this for at least a week before you submit an application.
You’ll know it worked when: you start getting profile views from people at those companies. LinkedIn shows you who viewed your profile (limited data for free accounts, expanded for Premium), and seeing employees from target companies is a direct signal that your engagement is registering.
When a recruiter sees your name on an application and recognizes it from a thoughtful comment on their VP’s post, you’ve already registered as someone who pays attention.
If you’re still working through your overall LinkedIn job search strategy, pair this step with weekly profile updates. Updating your profile with relevant keywords on a regular basis can boost search visibility by up to 35%.
When Searches Return Garbage
Three things commonly go wrong with LinkedIn job searches, and each has a distinct fix.
Results are wildly off-topic. You searched for “project manager” and got listings for construction foremen and software engineers. Your profile skills and headline don’t align with the type of project management you want. LinkedIn weighs your profile data when interpreting queries. Update your headline and skills section to match your target role, then run the search again.
Every listing has 200+ applicants. You’re searching too broadly or too infrequently. Add the “Under 10 Applicants” filter and switch your alert frequency to Daily. If high applicant counts persist, try searching early in the morning or late in the evening, when new listings are less likely to have been flooded.
Alerts deliver jobs in the wrong location. Check that your saved search has a specific location filter applied, not just the default from your profile. LinkedIn sometimes falls back to your profile location, which creates mismatches if you’re open to relocation or remote work. Explicitly set the location or “Remote” filter in each saved search.
If traditional search tactics have been losing their effectiveness for you, these fixes address the most common technical reasons. But the upstream issue is almost always profile completeness. A thin profile produces thin results.
Where to Go From Here
With your searches saved and alerts running, your daily LinkedIn routine should take about 15 minutes: review new alerts, apply to 2-3 well-matched roles, and leave one substantive comment on a target company’s content. The temptation is to apply to everything that looks remotely relevant, but the data argues for the opposite approach. Volume applications get buried. Early, targeted applications with prior engagement get read.
Your next move depends on where you’re weakest. If your profile still needs work, the full profile optimization guide covers headline formulas, About section structure, and skills ordering. If your resume is the bottleneck between getting found on LinkedIn and actually getting hired, fixing the document itself will matter more than any search tactic you run on the platform. The search brings you to the door. The application materials determine whether it opens.